0
Skip to Content
LAURA BEASLEY PHOTOGRAPHY
PORTFOLIO
ABOUT
PRICES
BLOG
TESTIMONIALS
CONTACT
LAURA BEASLEY PHOTOGRAPHY
PORTFOLIO
ABOUT
PRICES
BLOG
TESTIMONIALS
CONTACT
LAURA BEASLEY PHOTOGRAPHY
PORTFOLIO
ABOUT
PRICES
BLOG
TESTIMONIALS
CONTACT
Ember145.jpg View fullsize
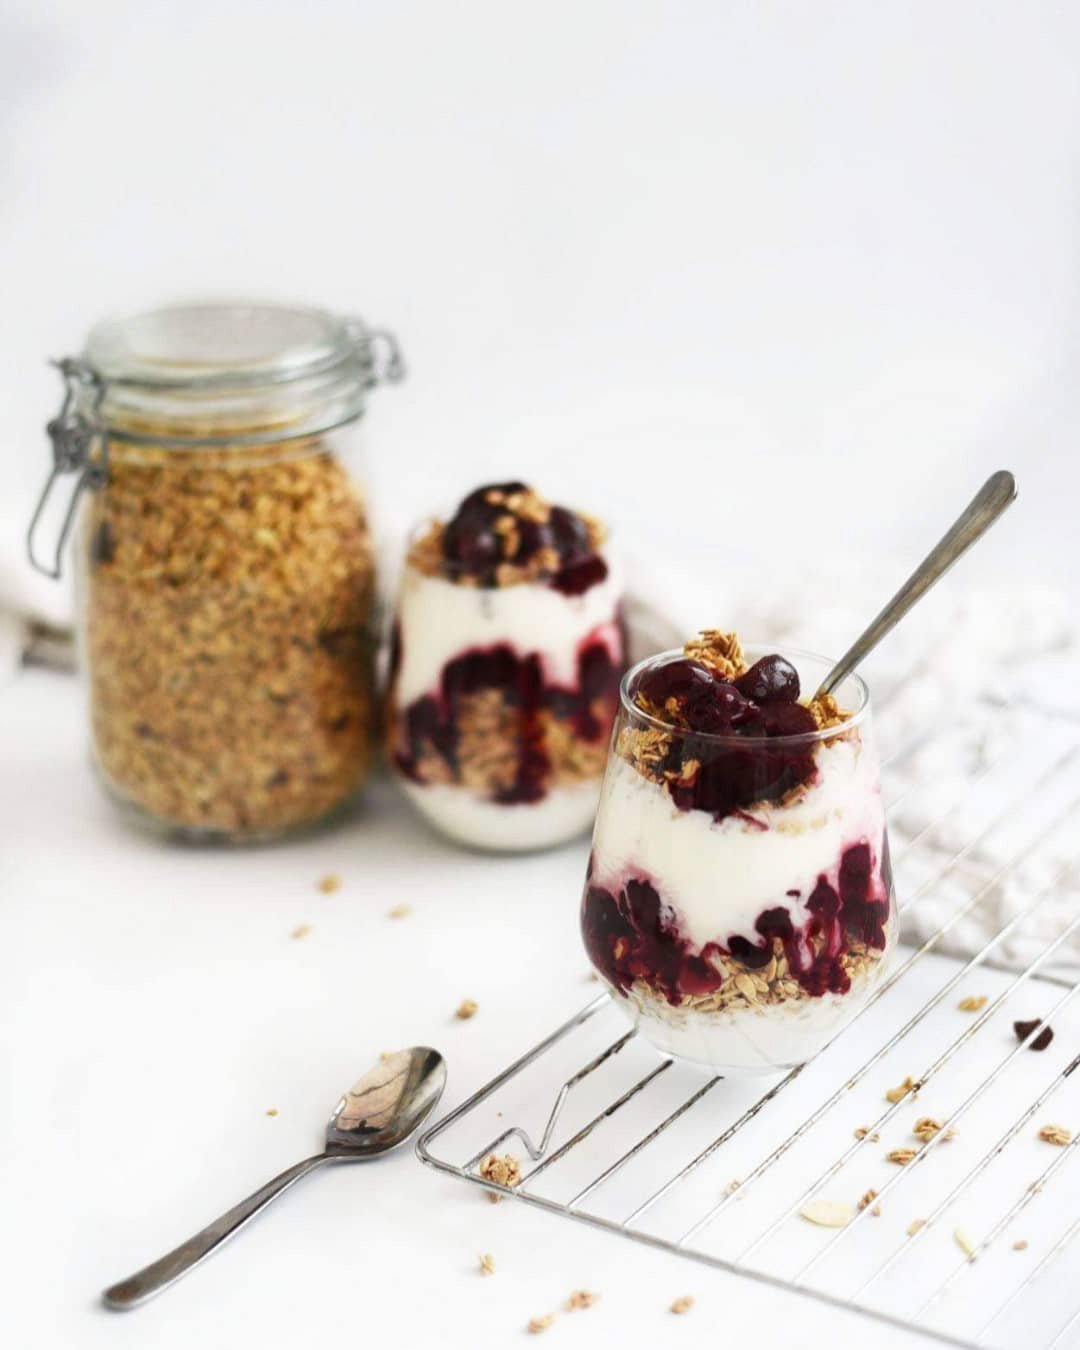
Ember120 (1).jpg View fullsize
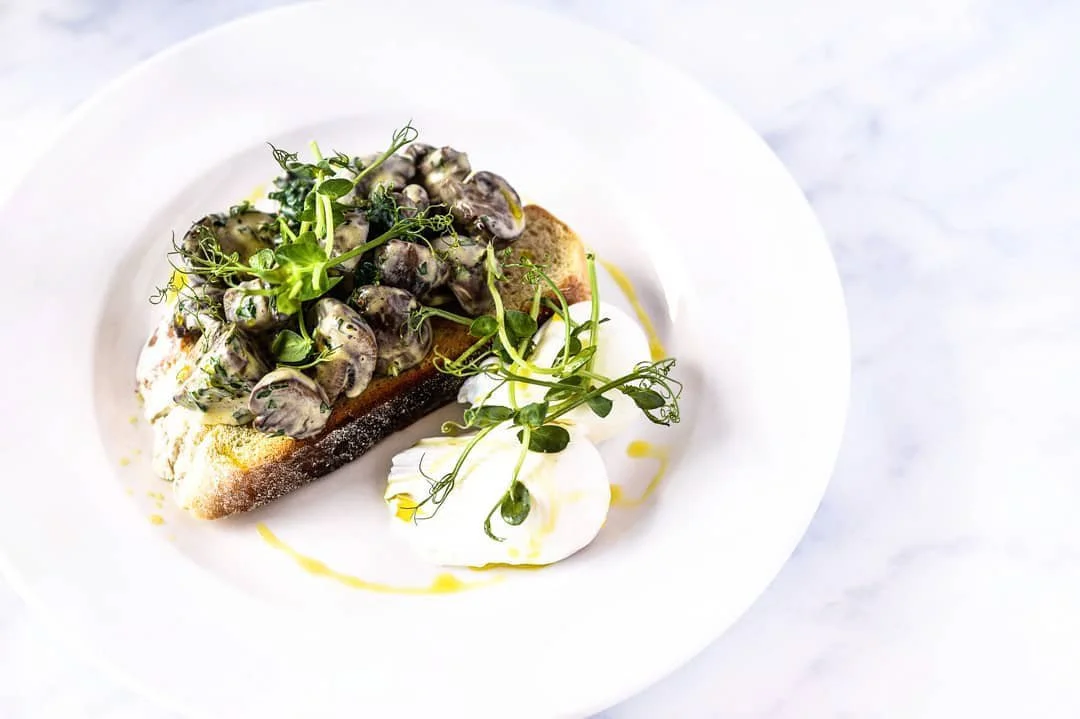
Ember89.jpg View fullsize
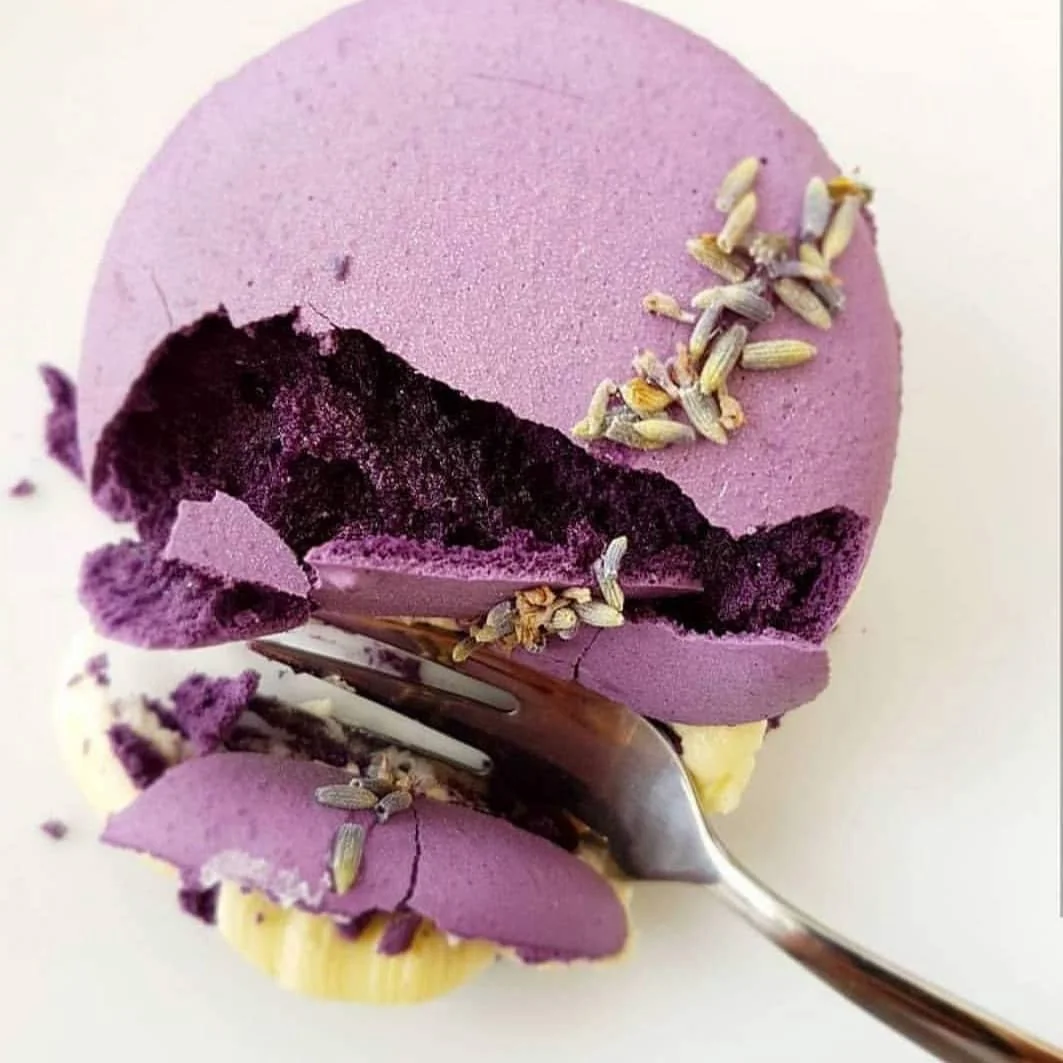
Ember88.jpg View fullsize
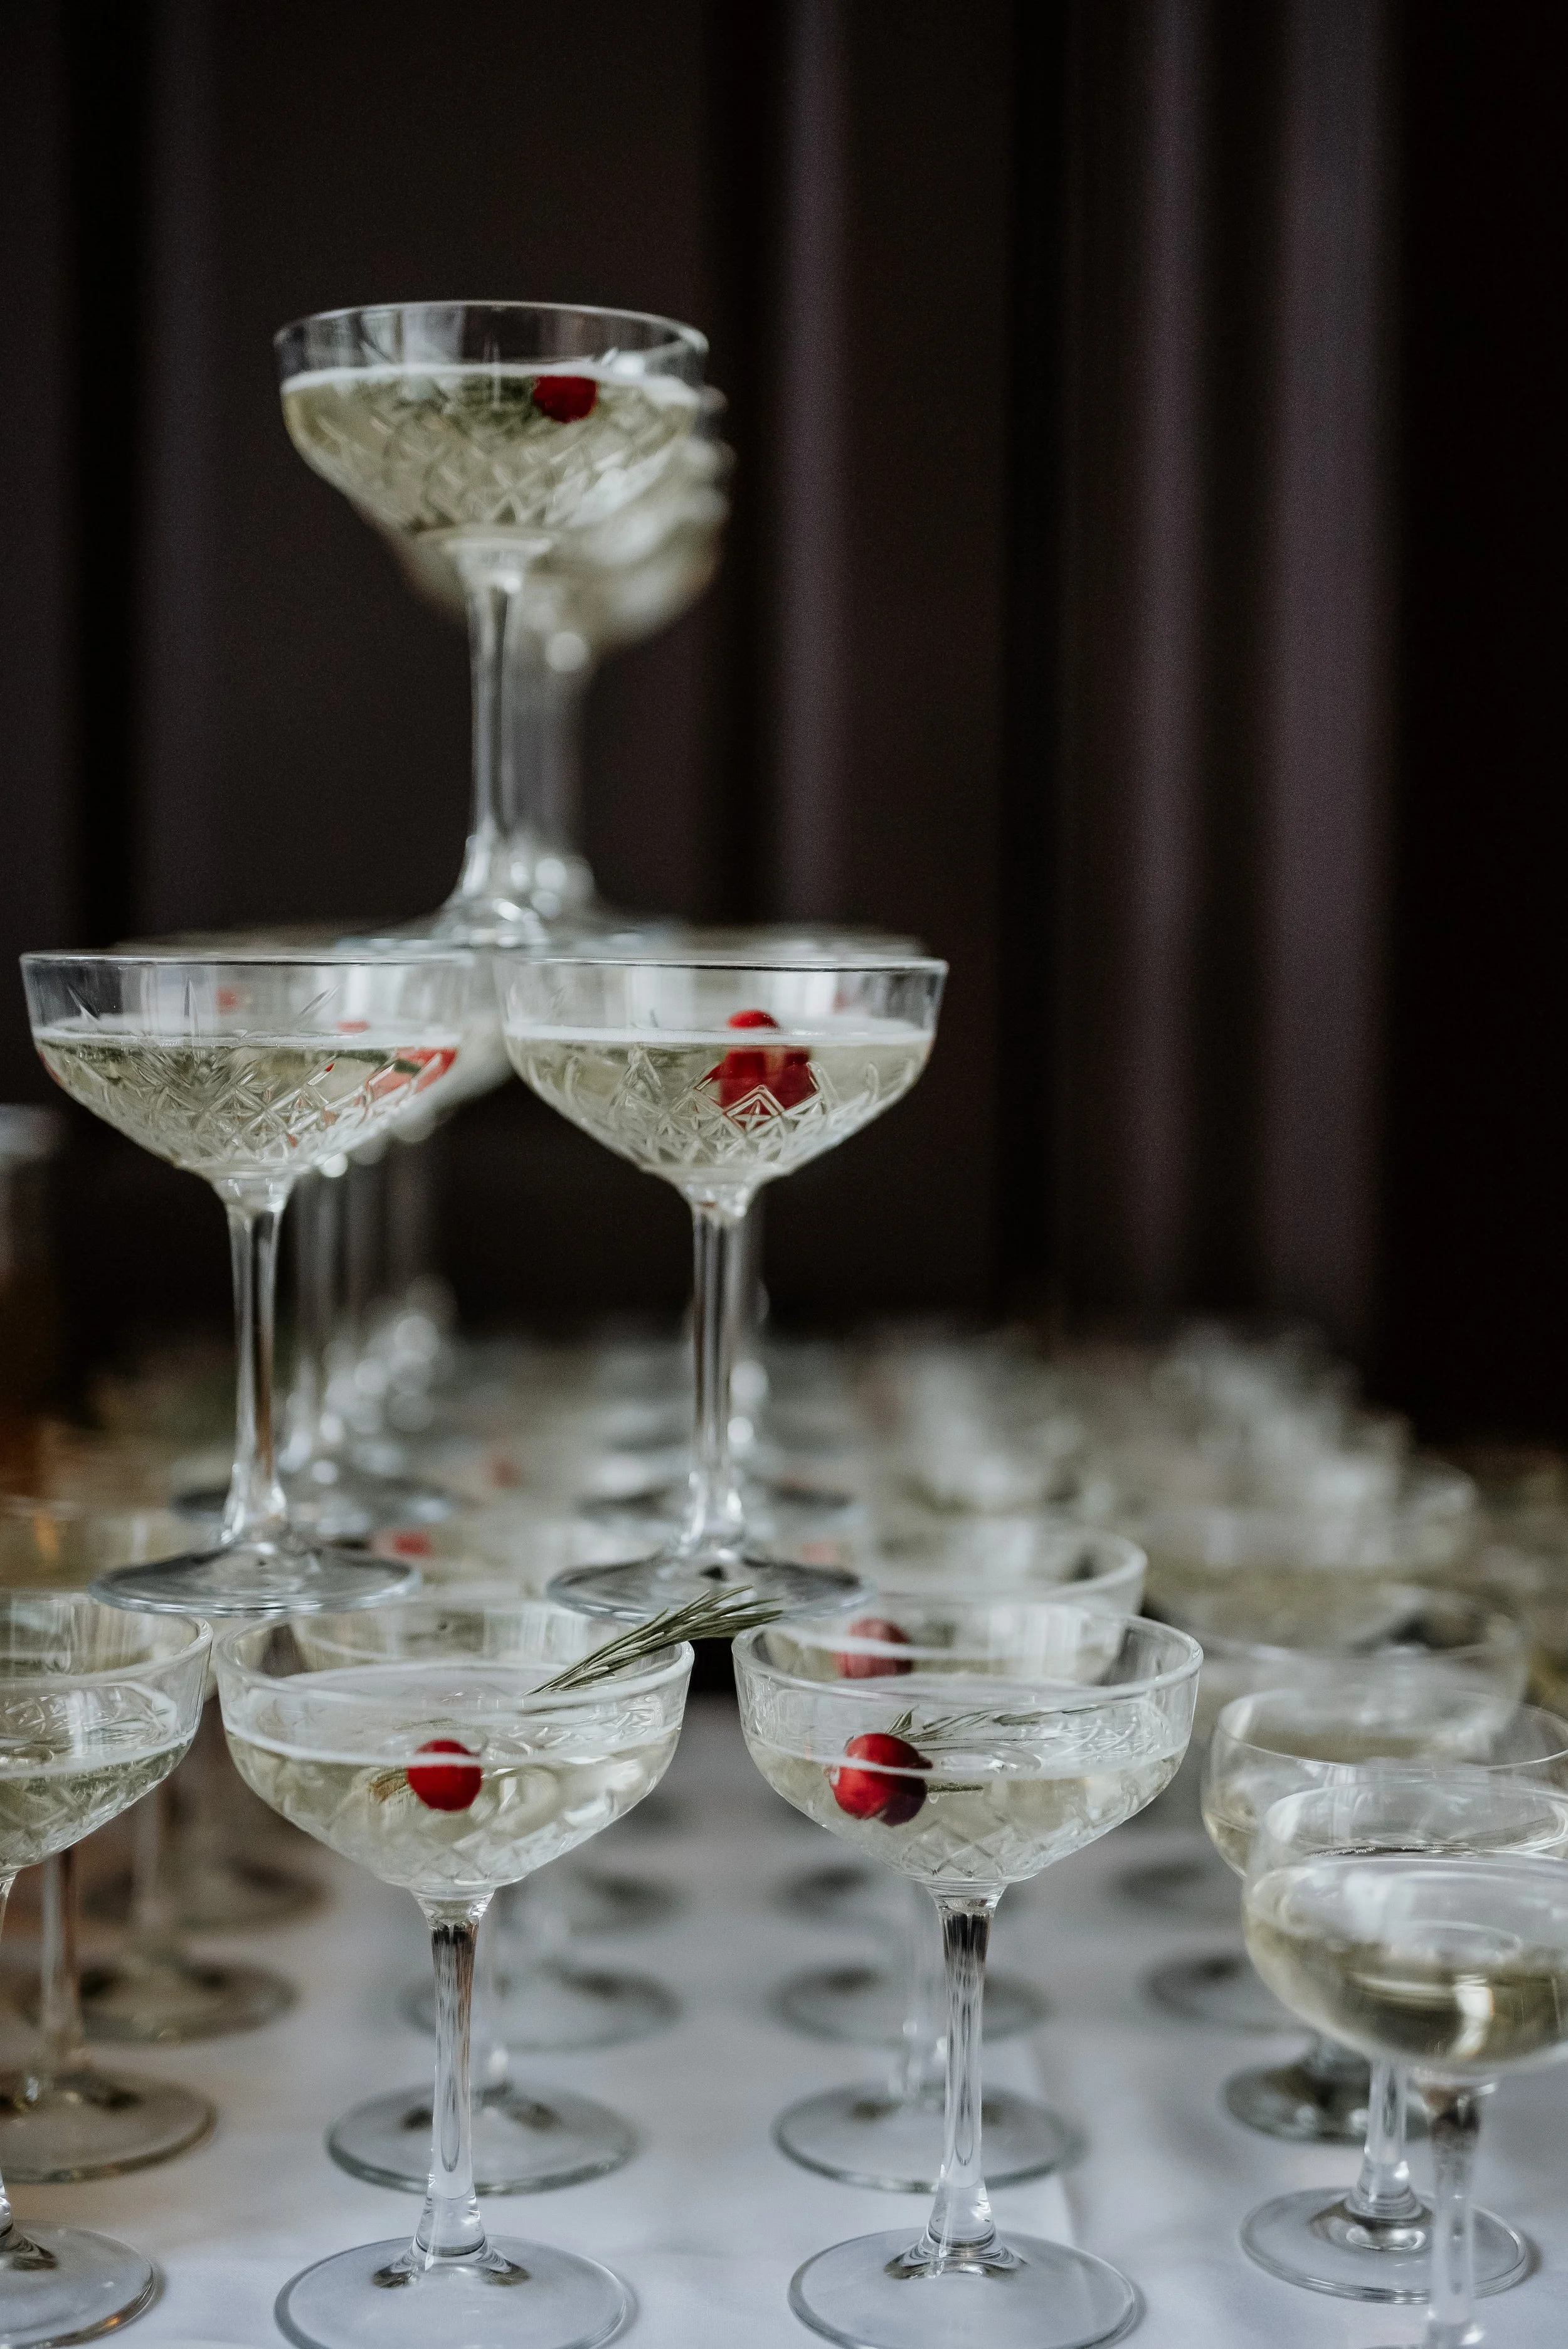
Ember75.jpg View fullsize
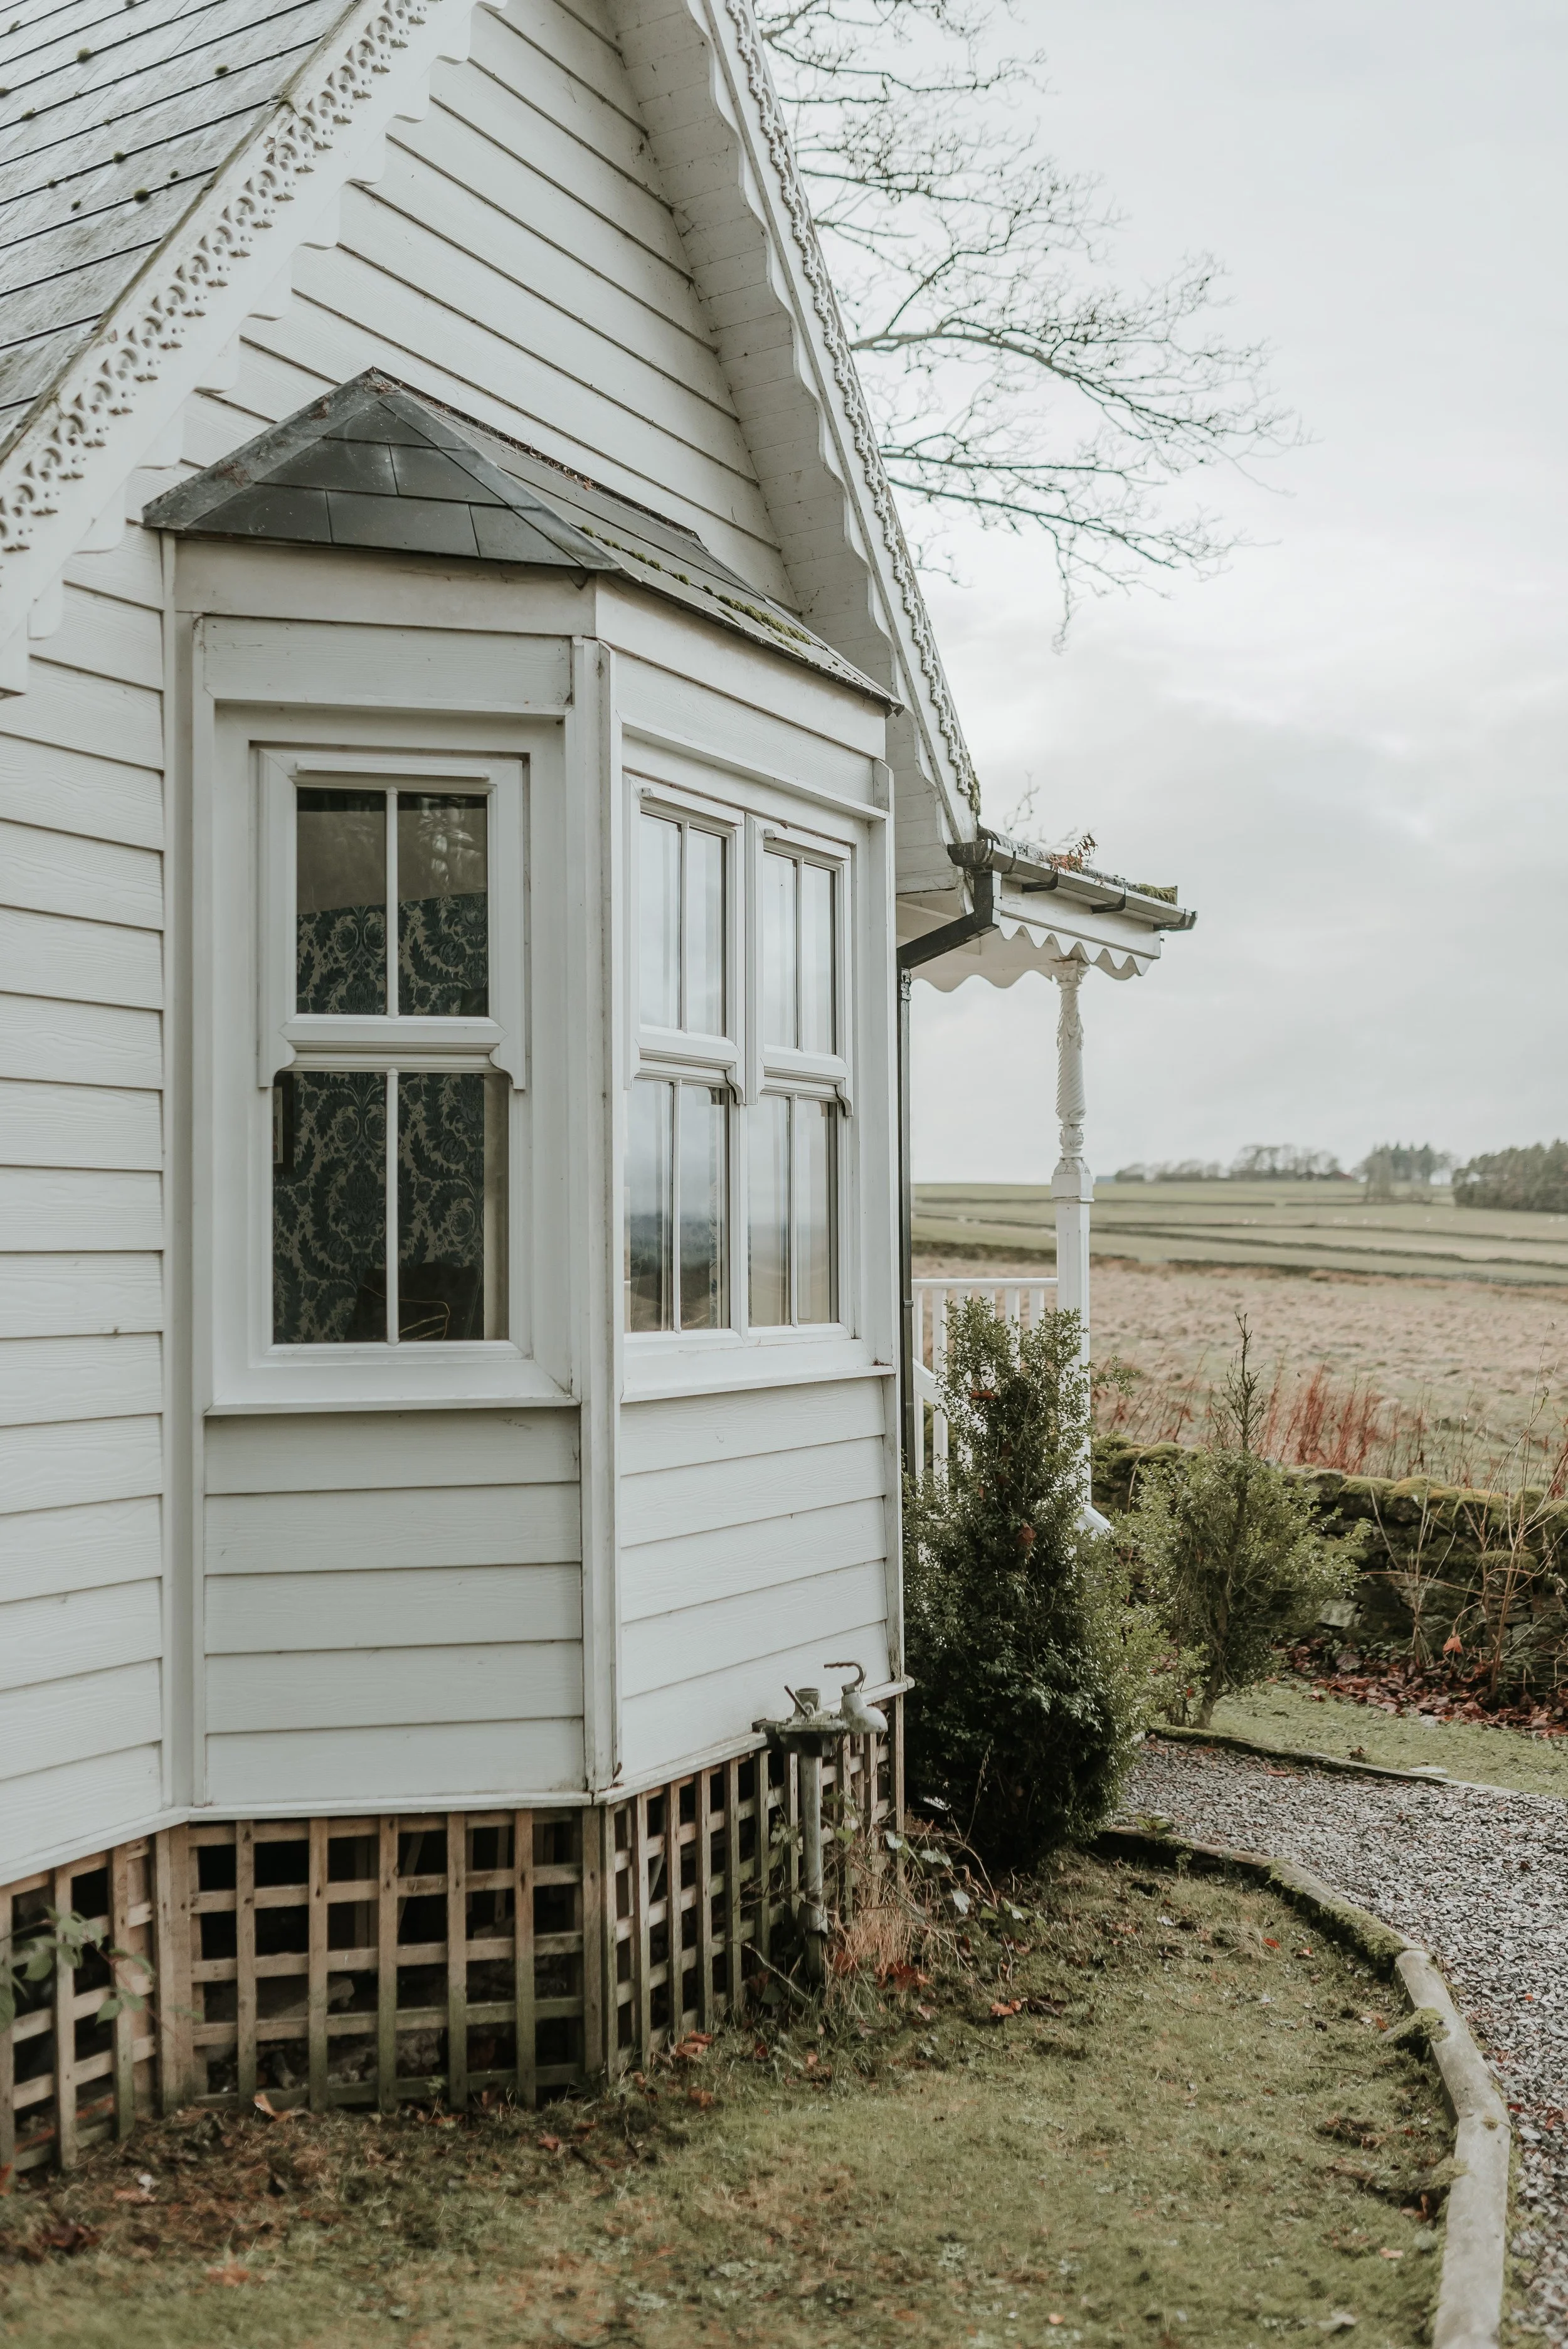
Ember64.jpg View fullsize
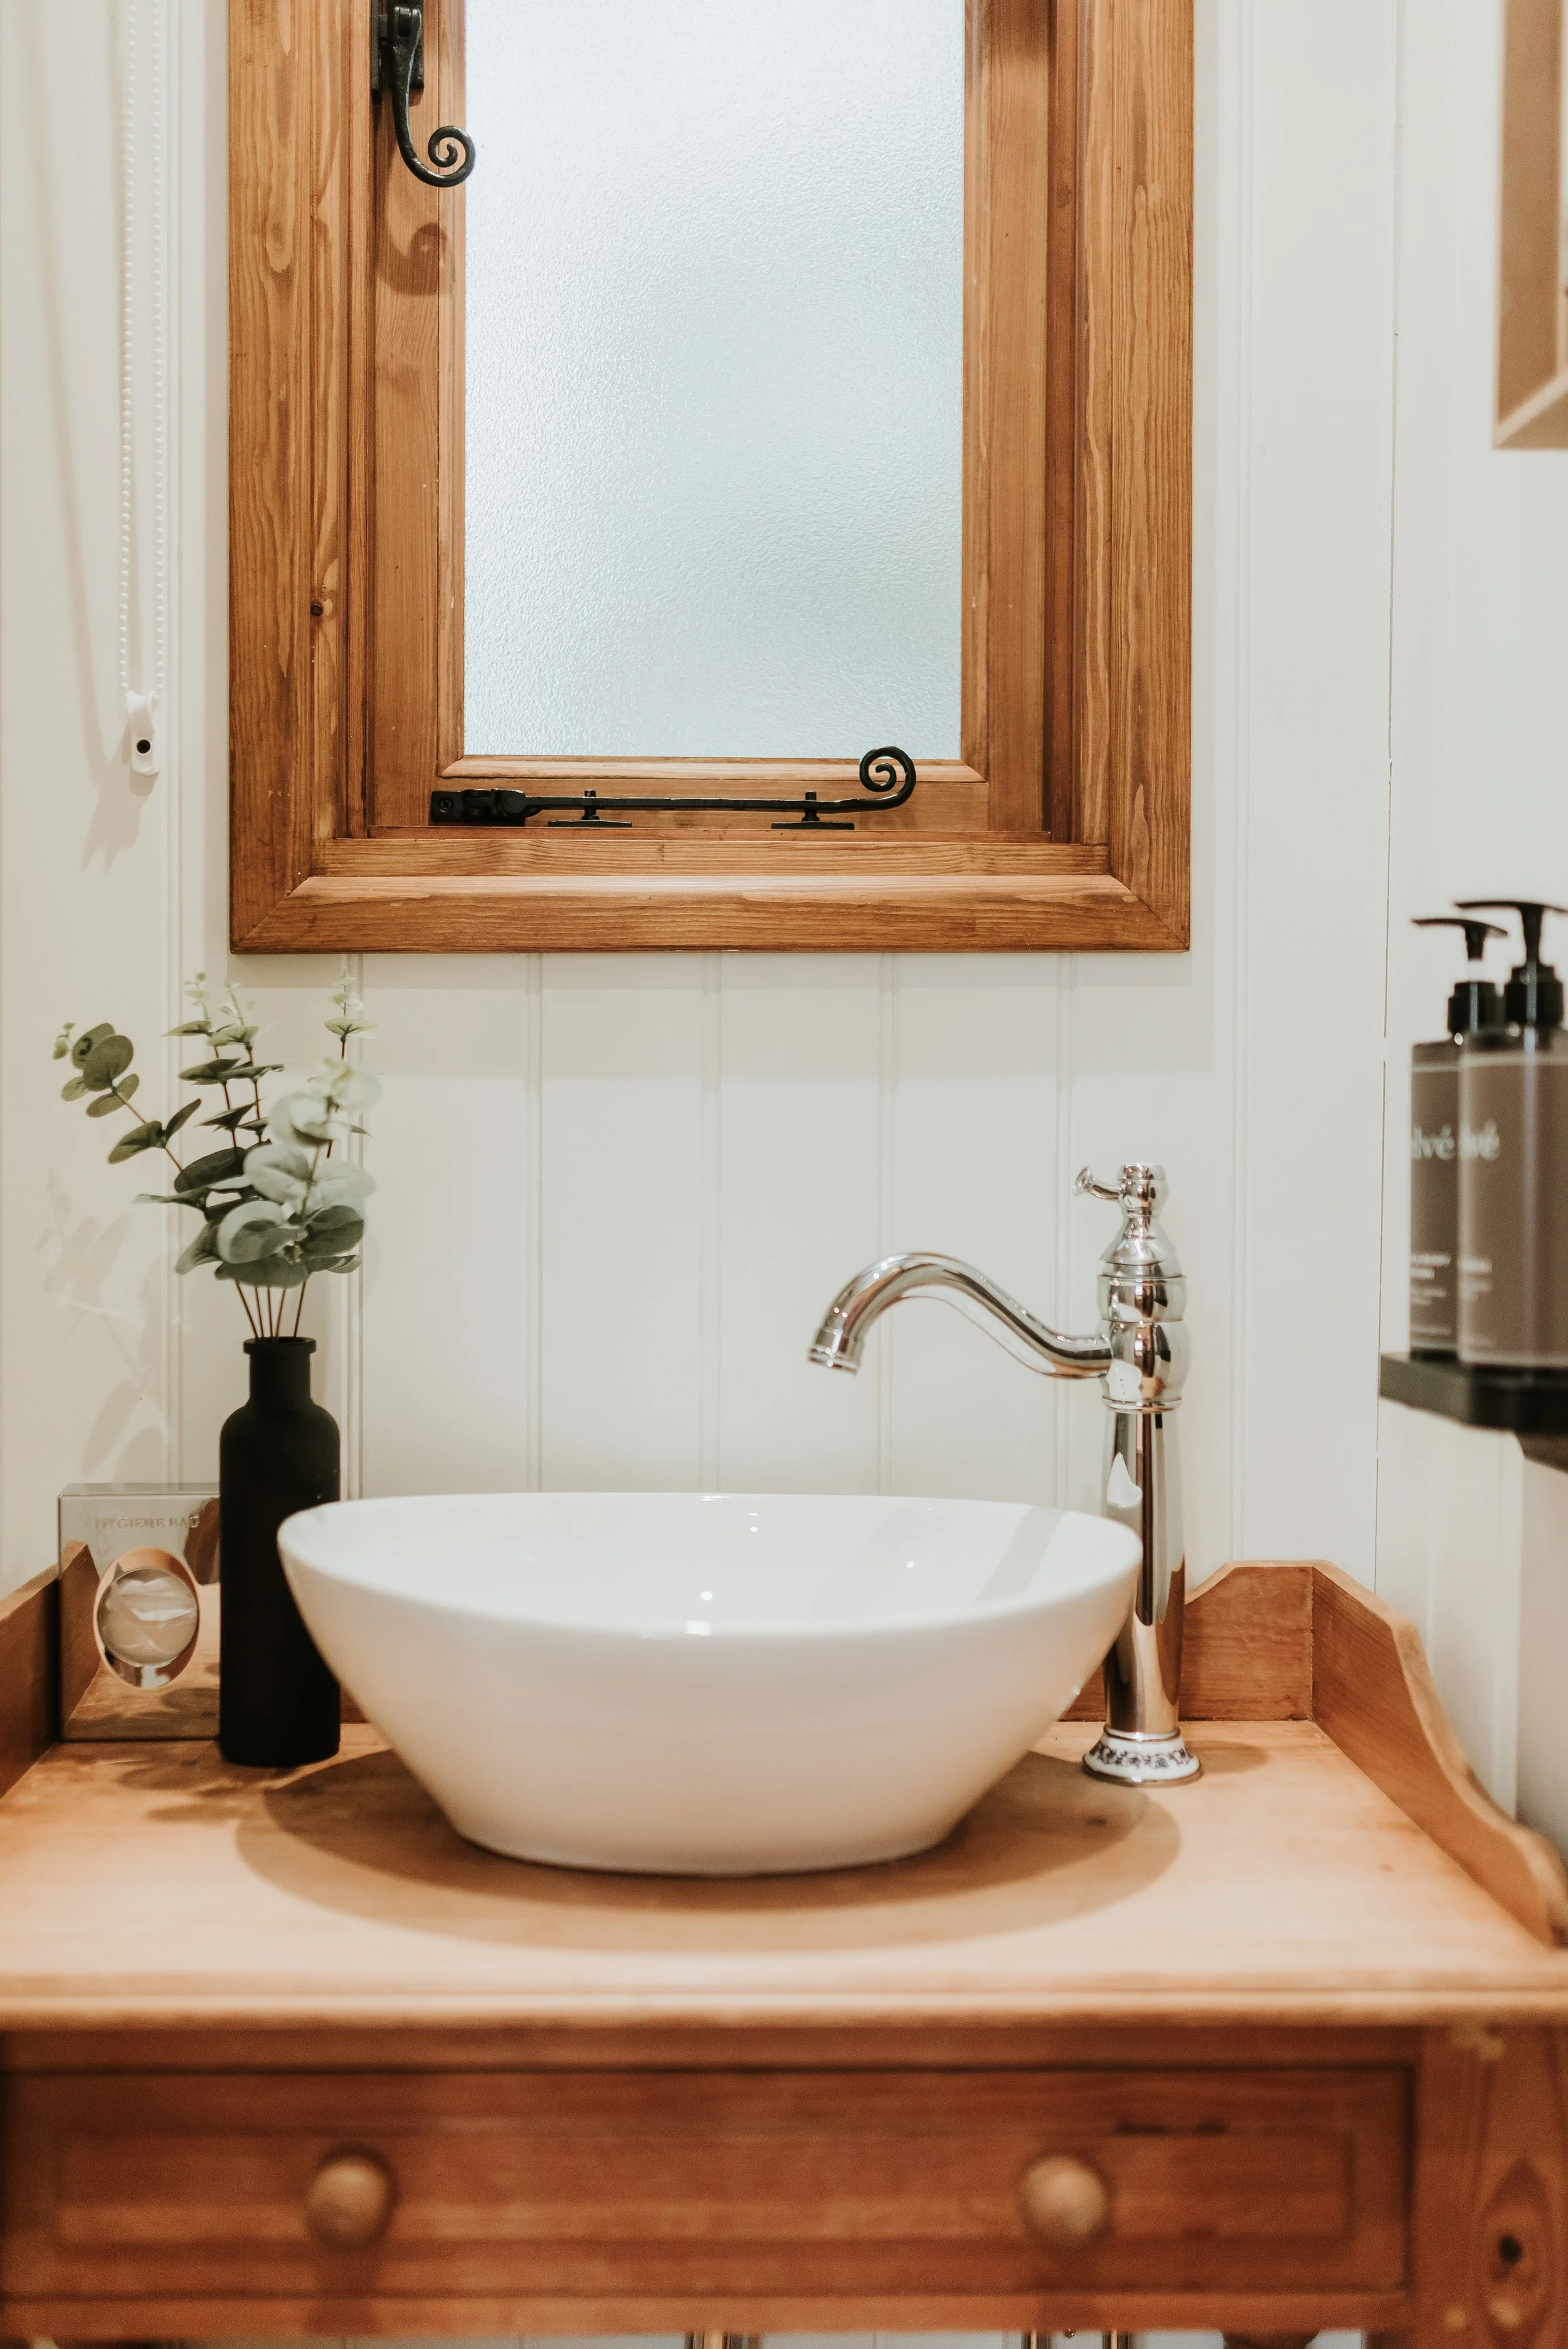
Ember57.jpg View fullsize
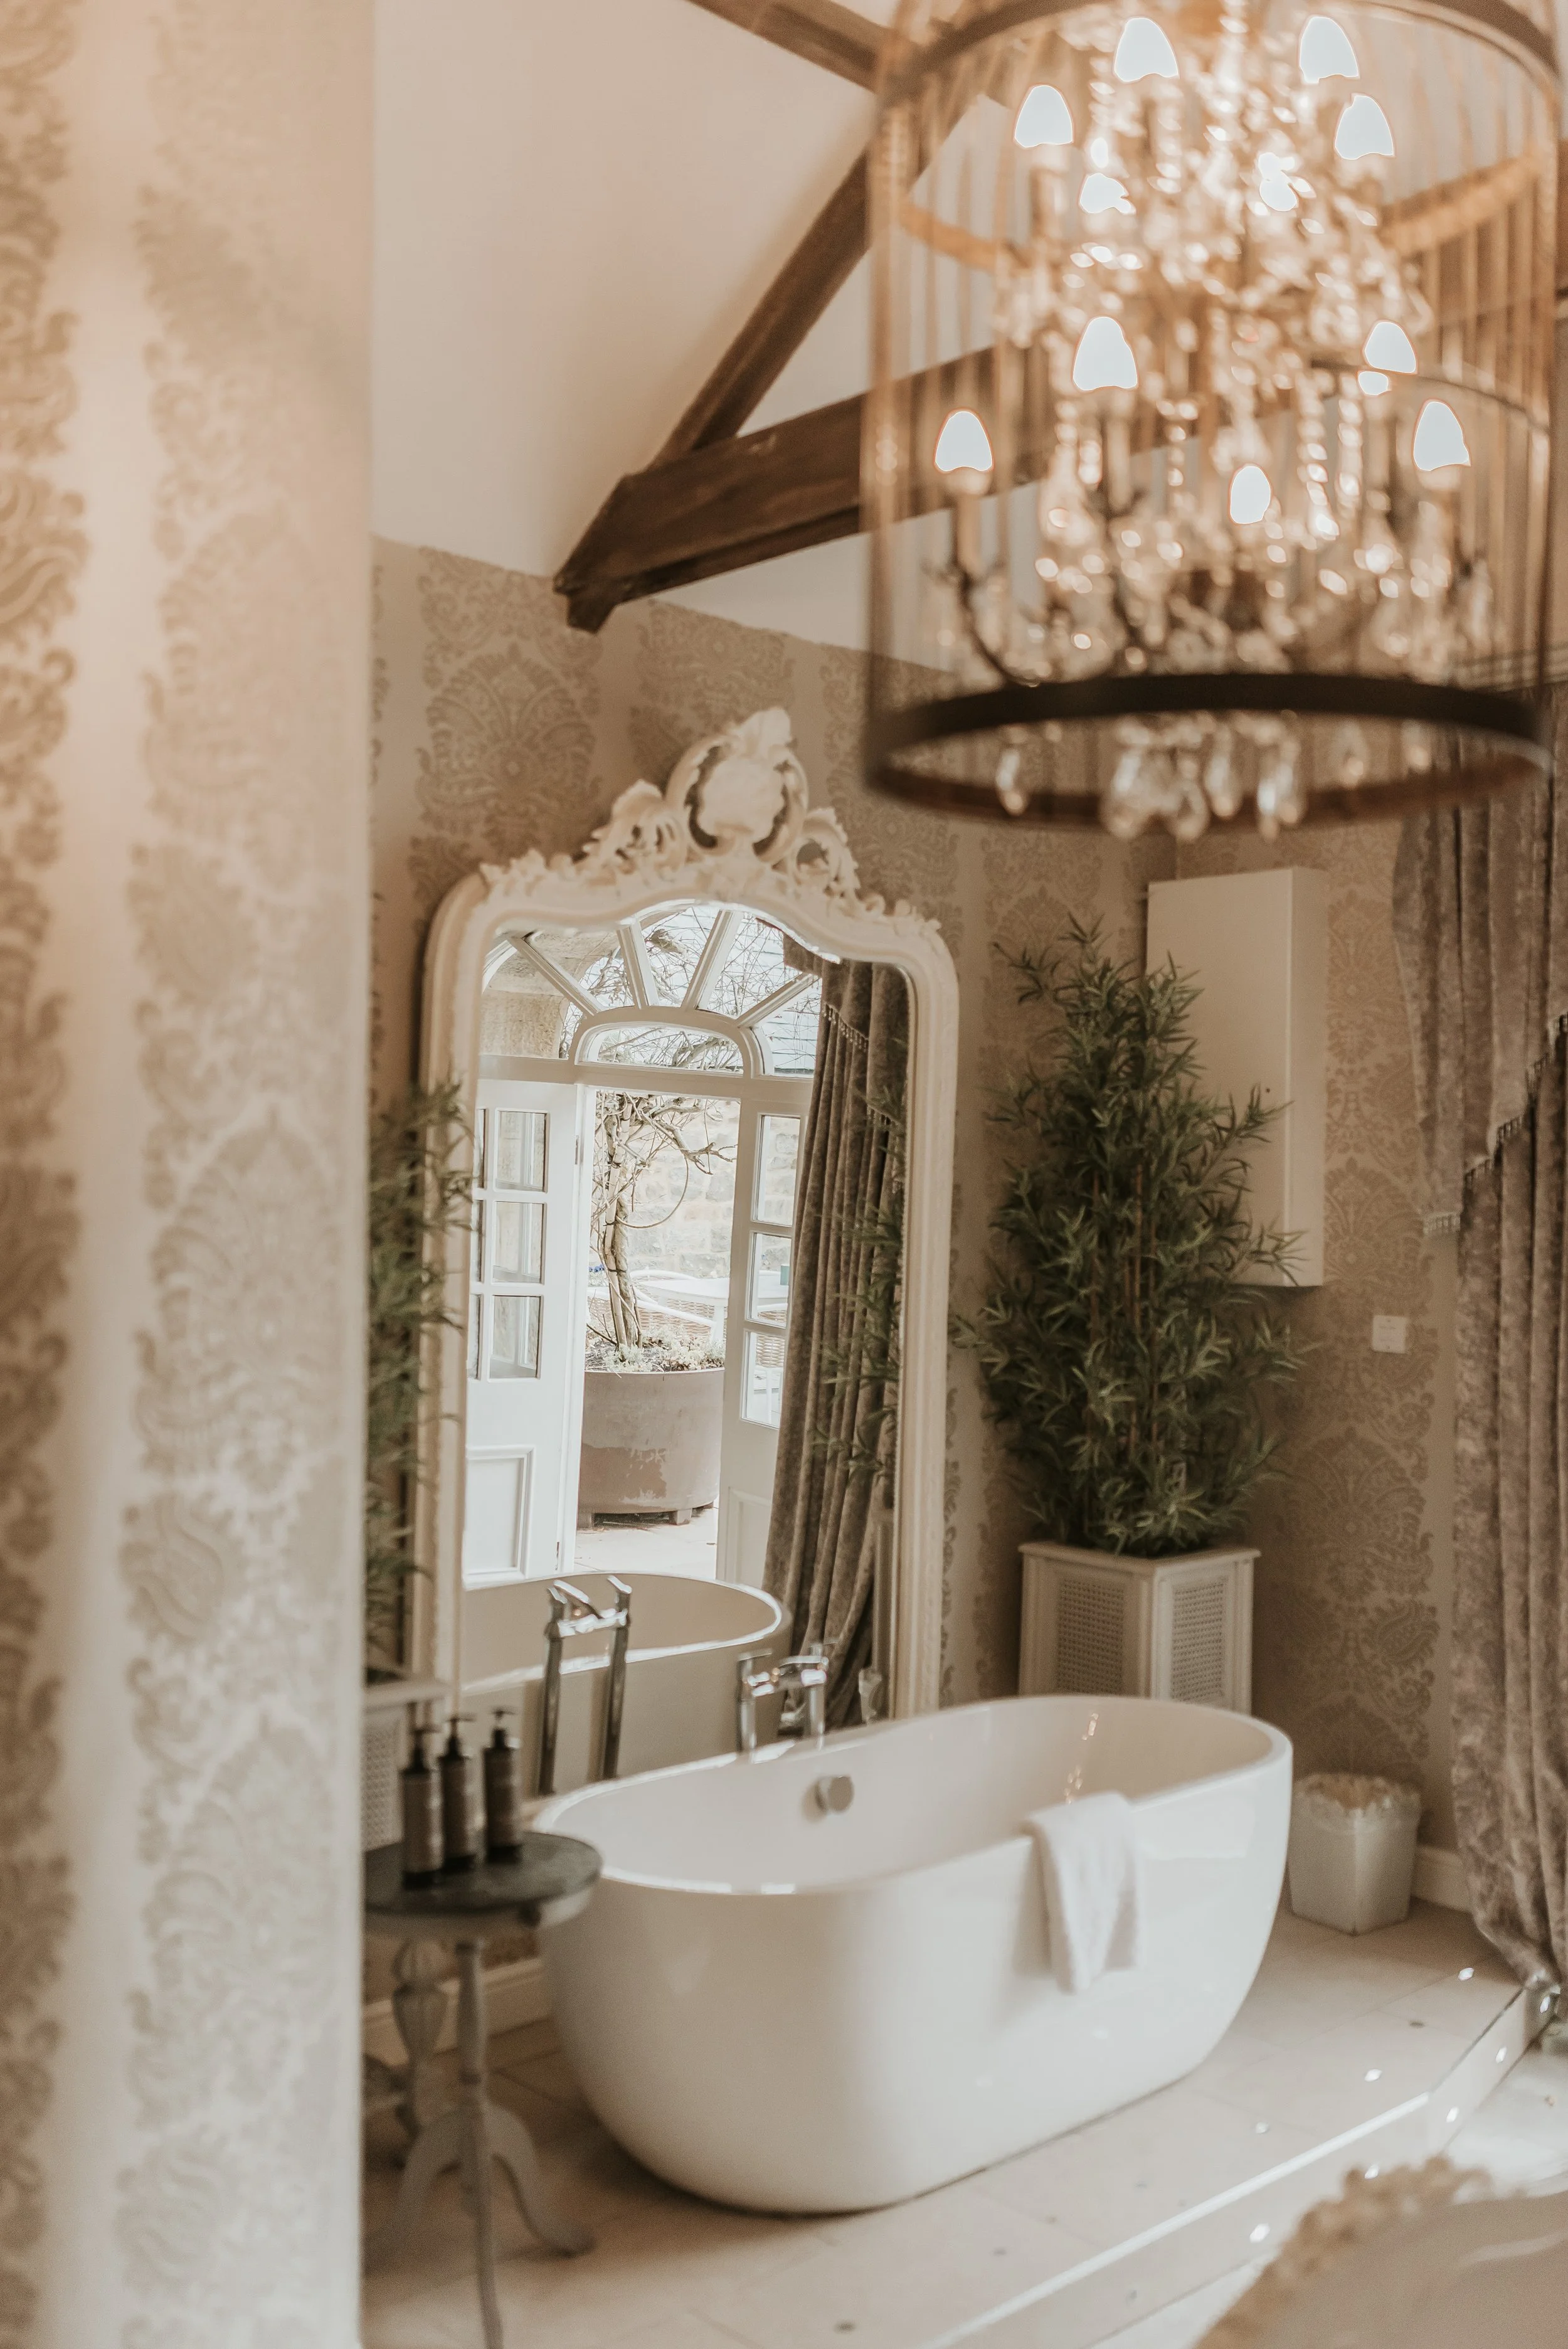
Ember49.jpg View fullsize
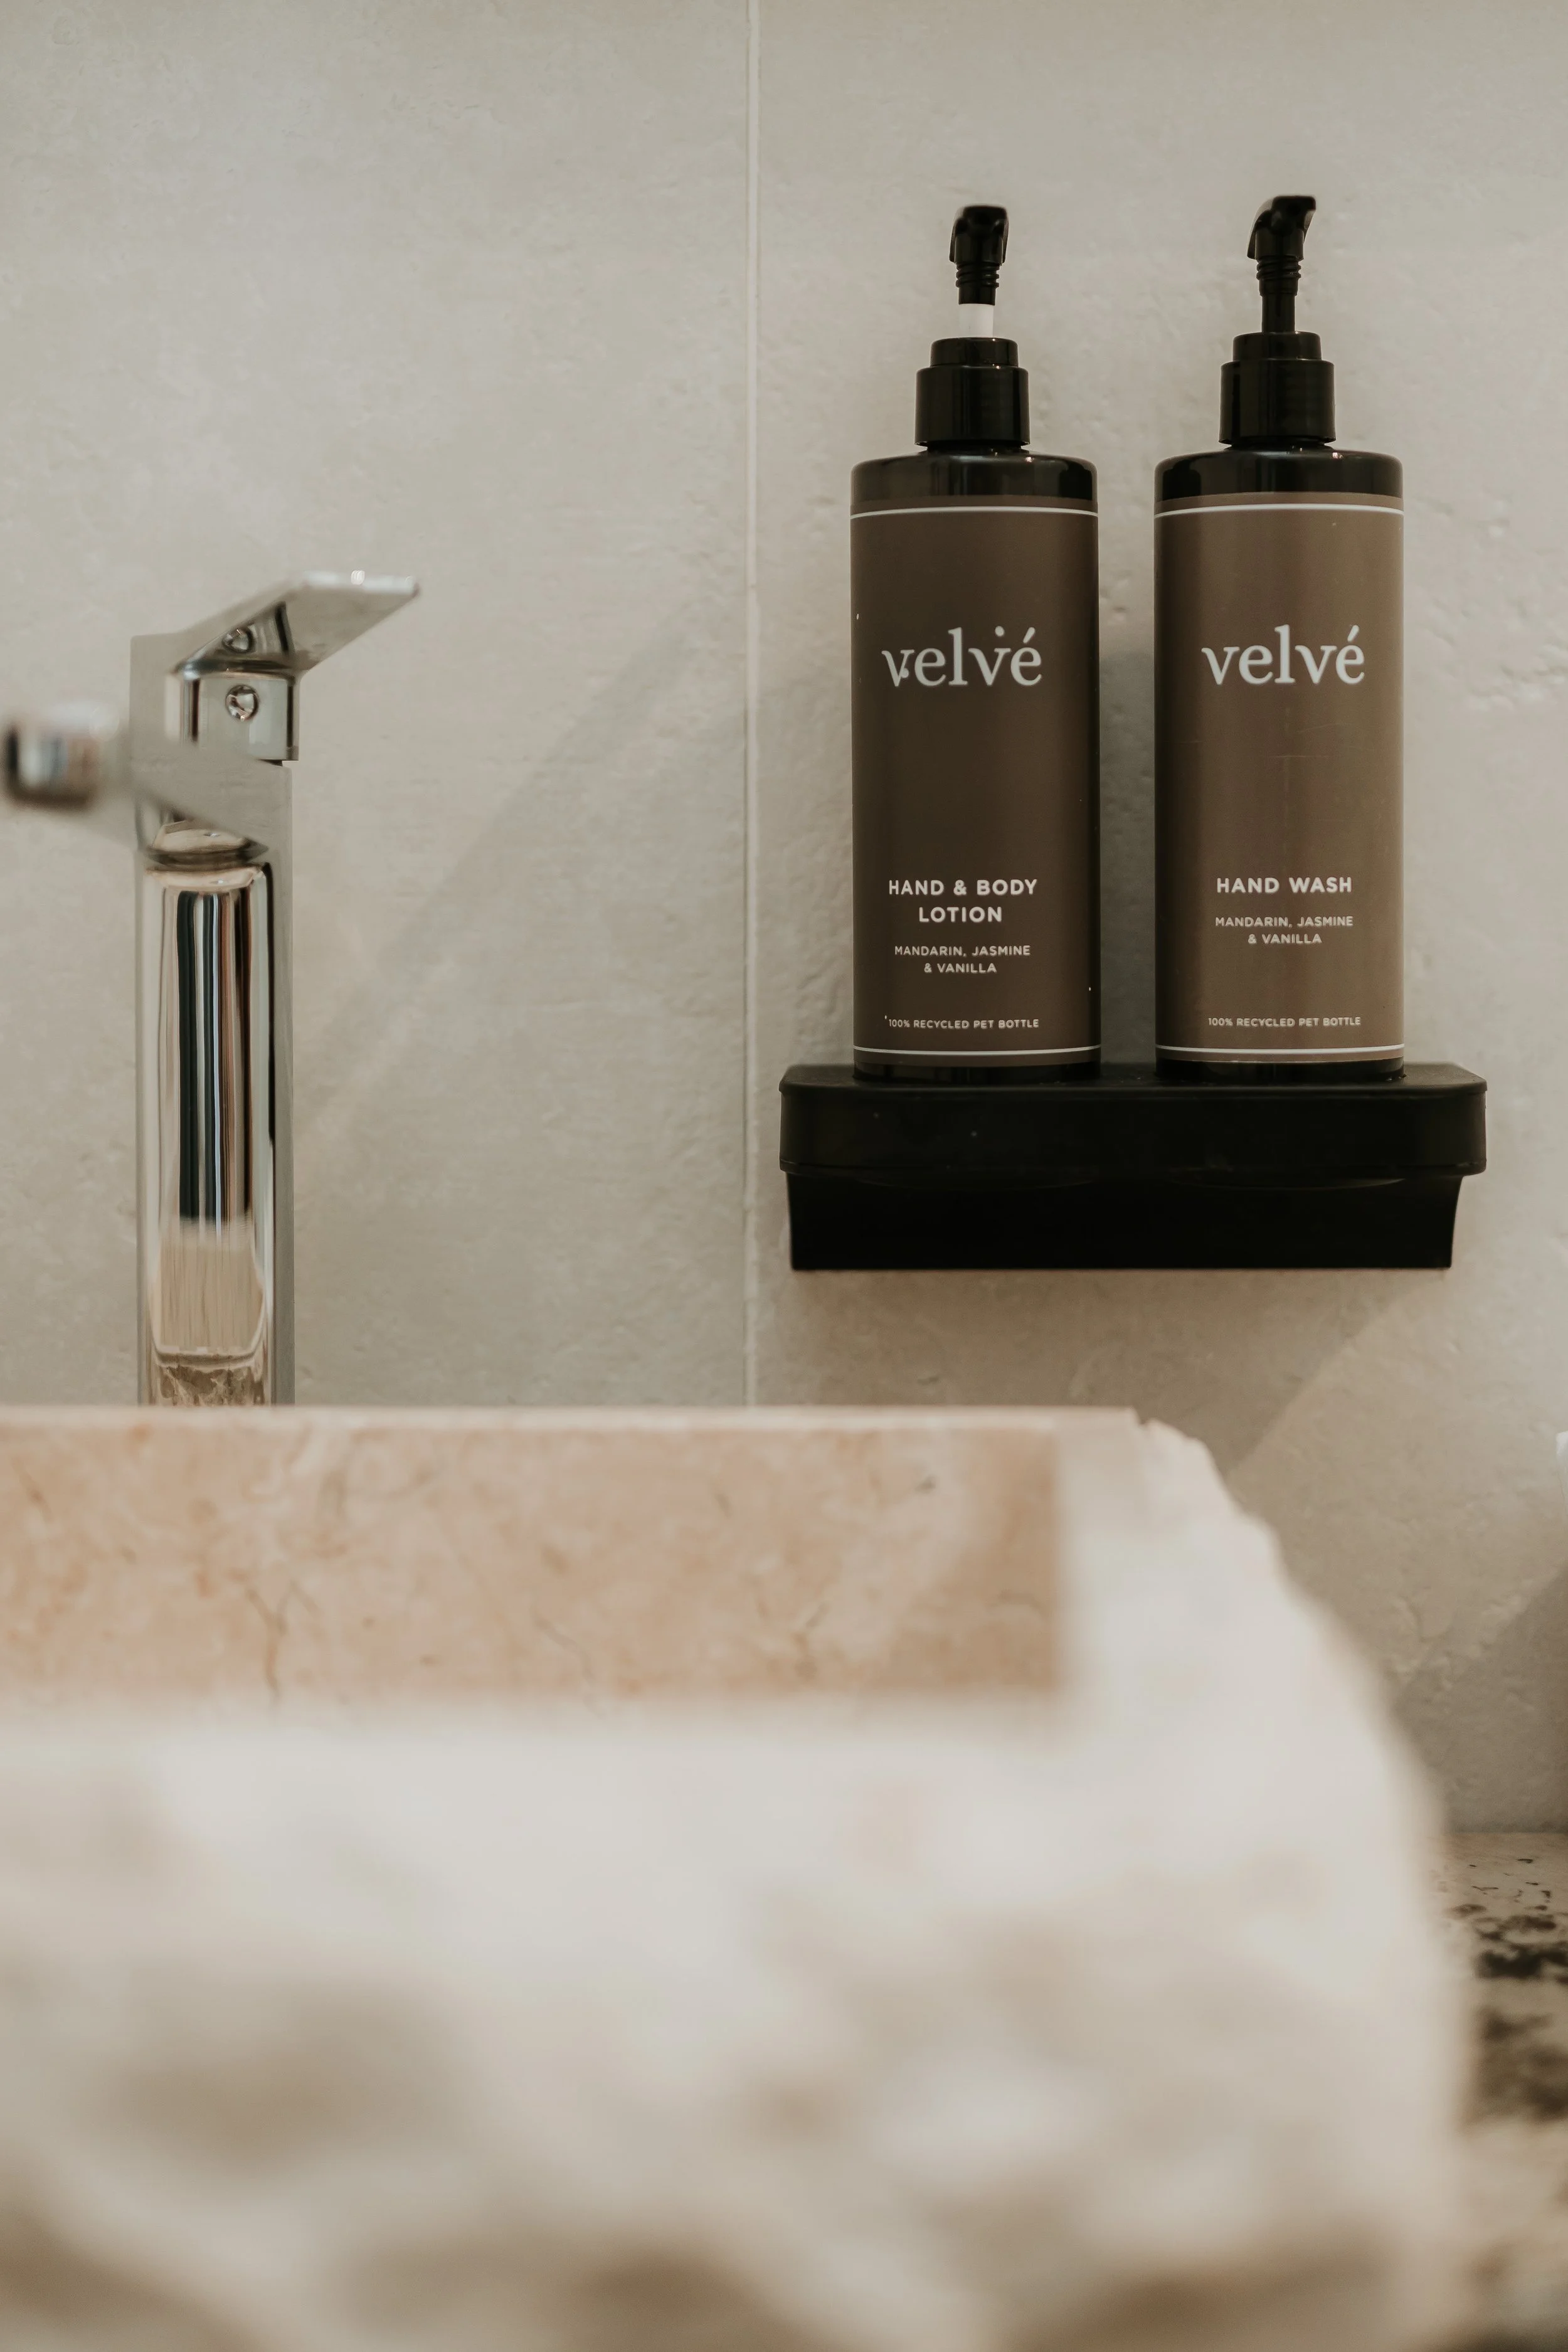
Ember52.jpg View fullsize
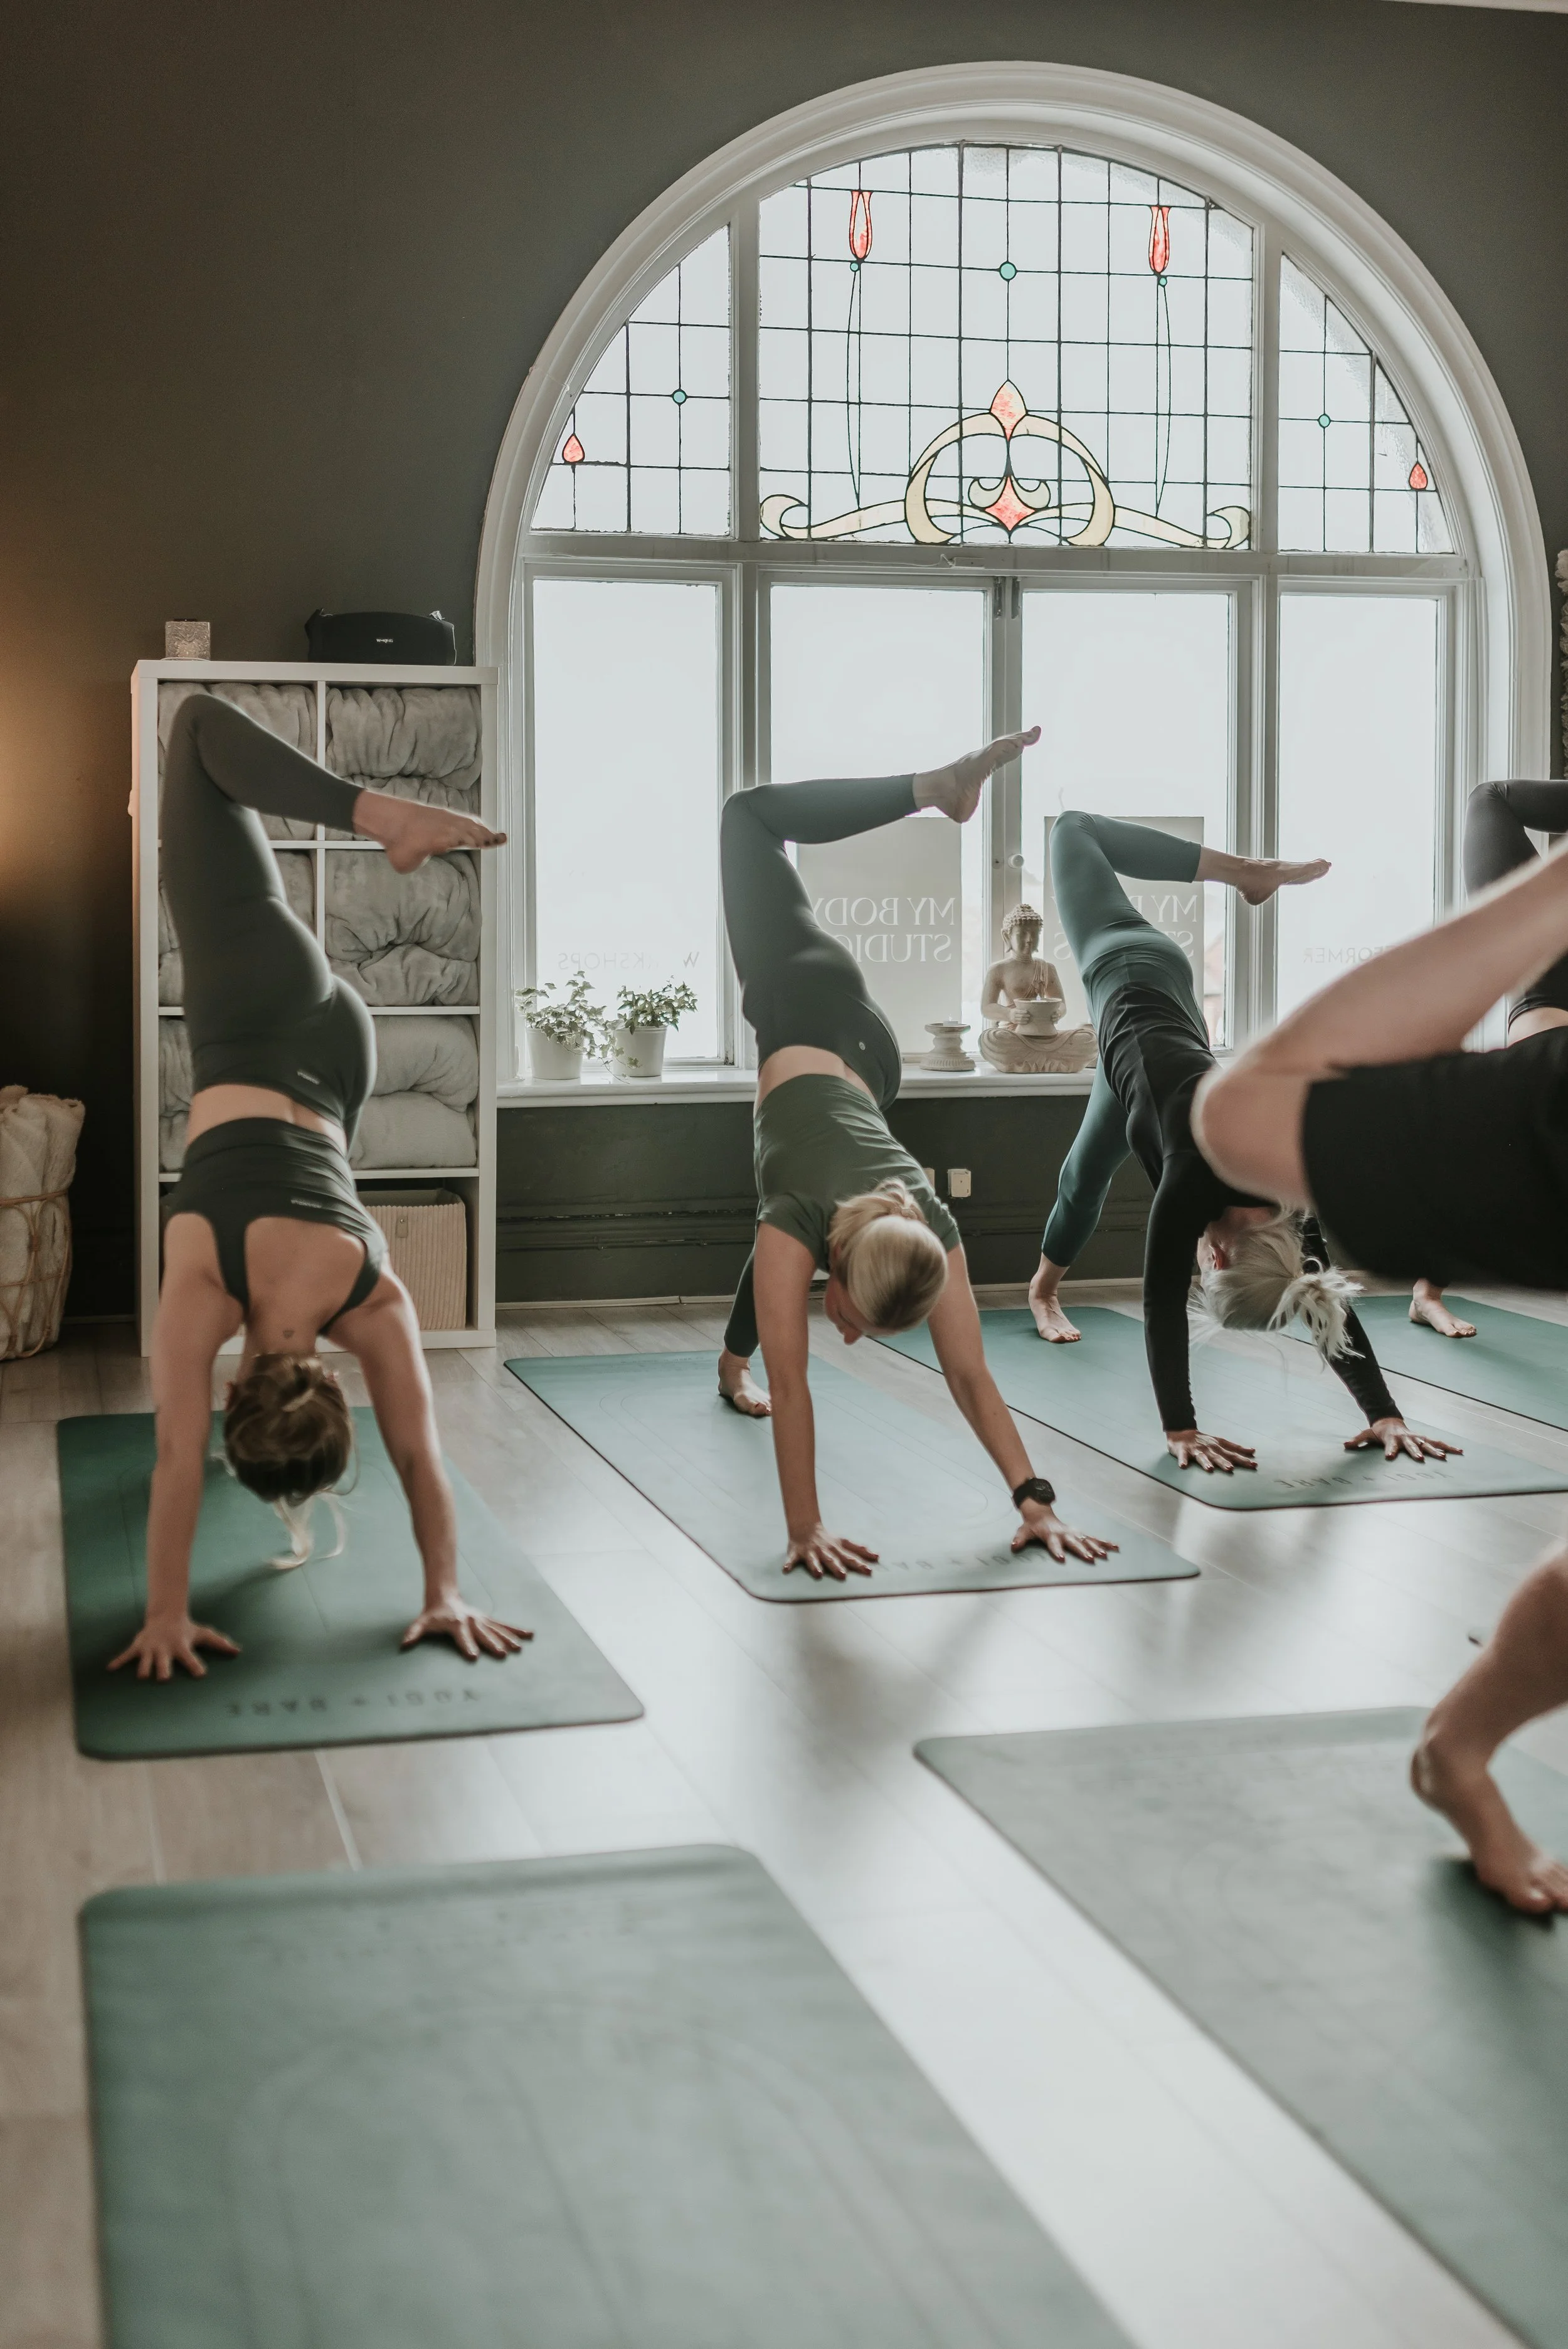
Ember47.jpg View fullsize
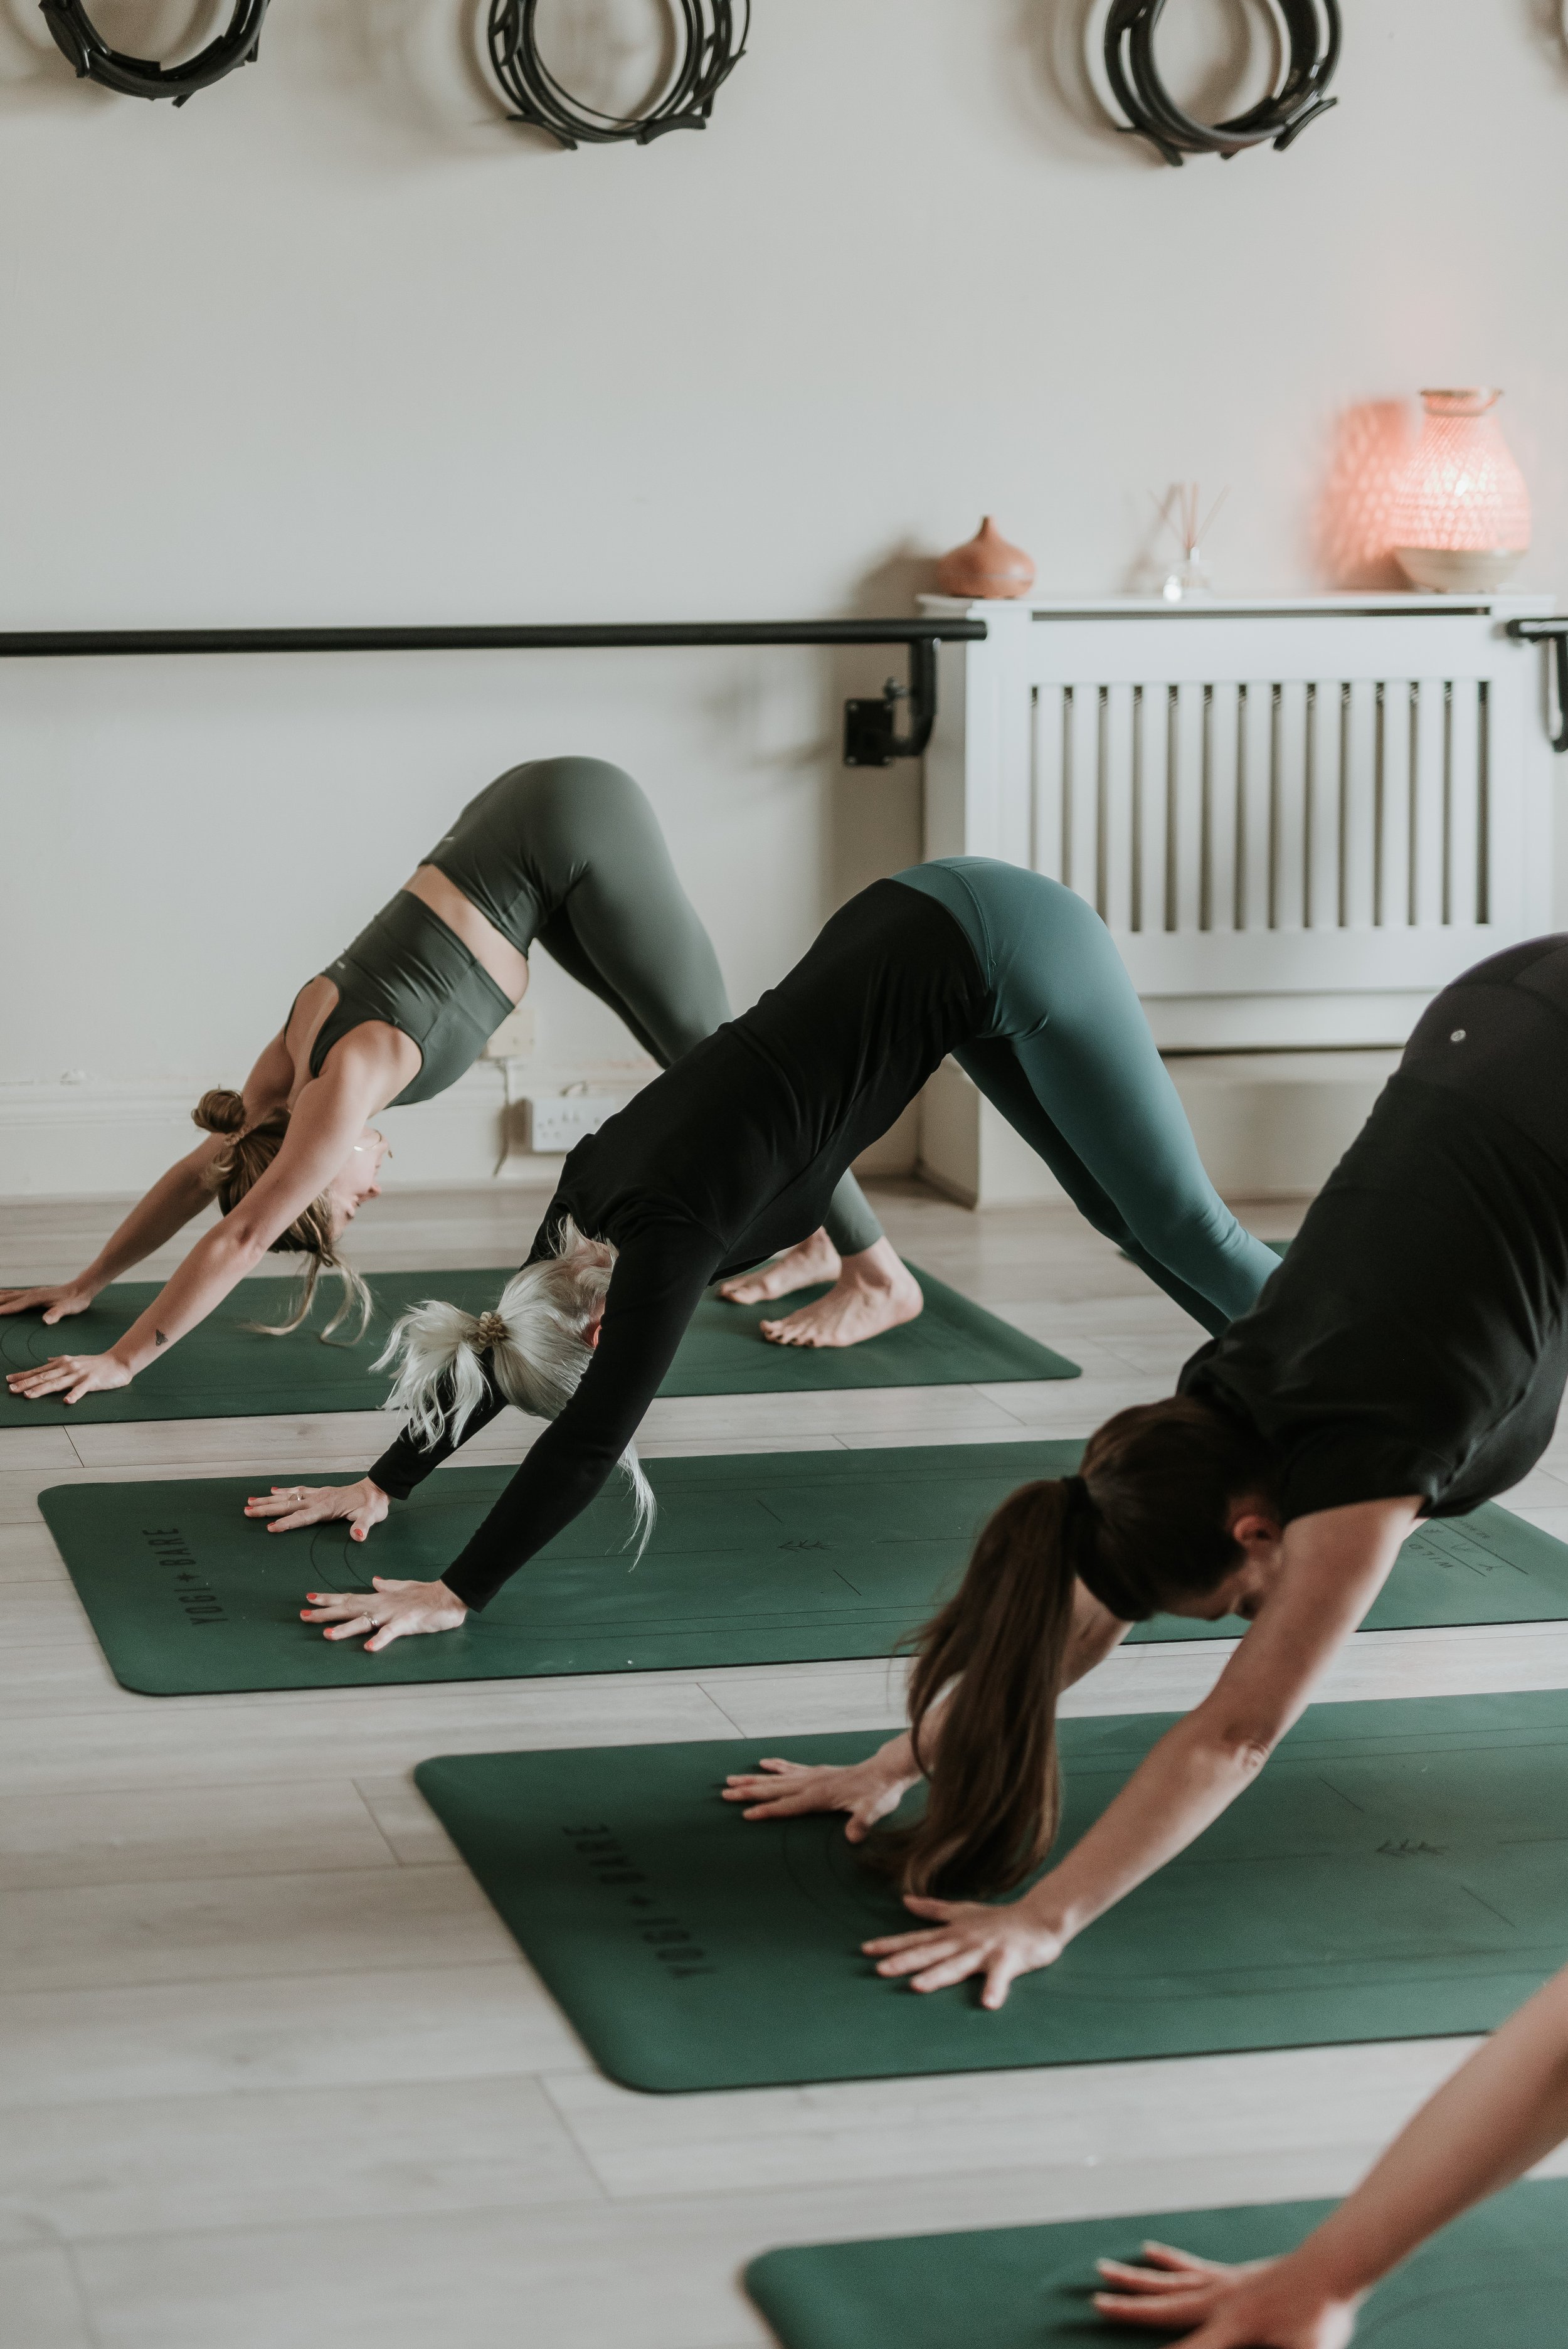
Ember44.jpg View fullsize
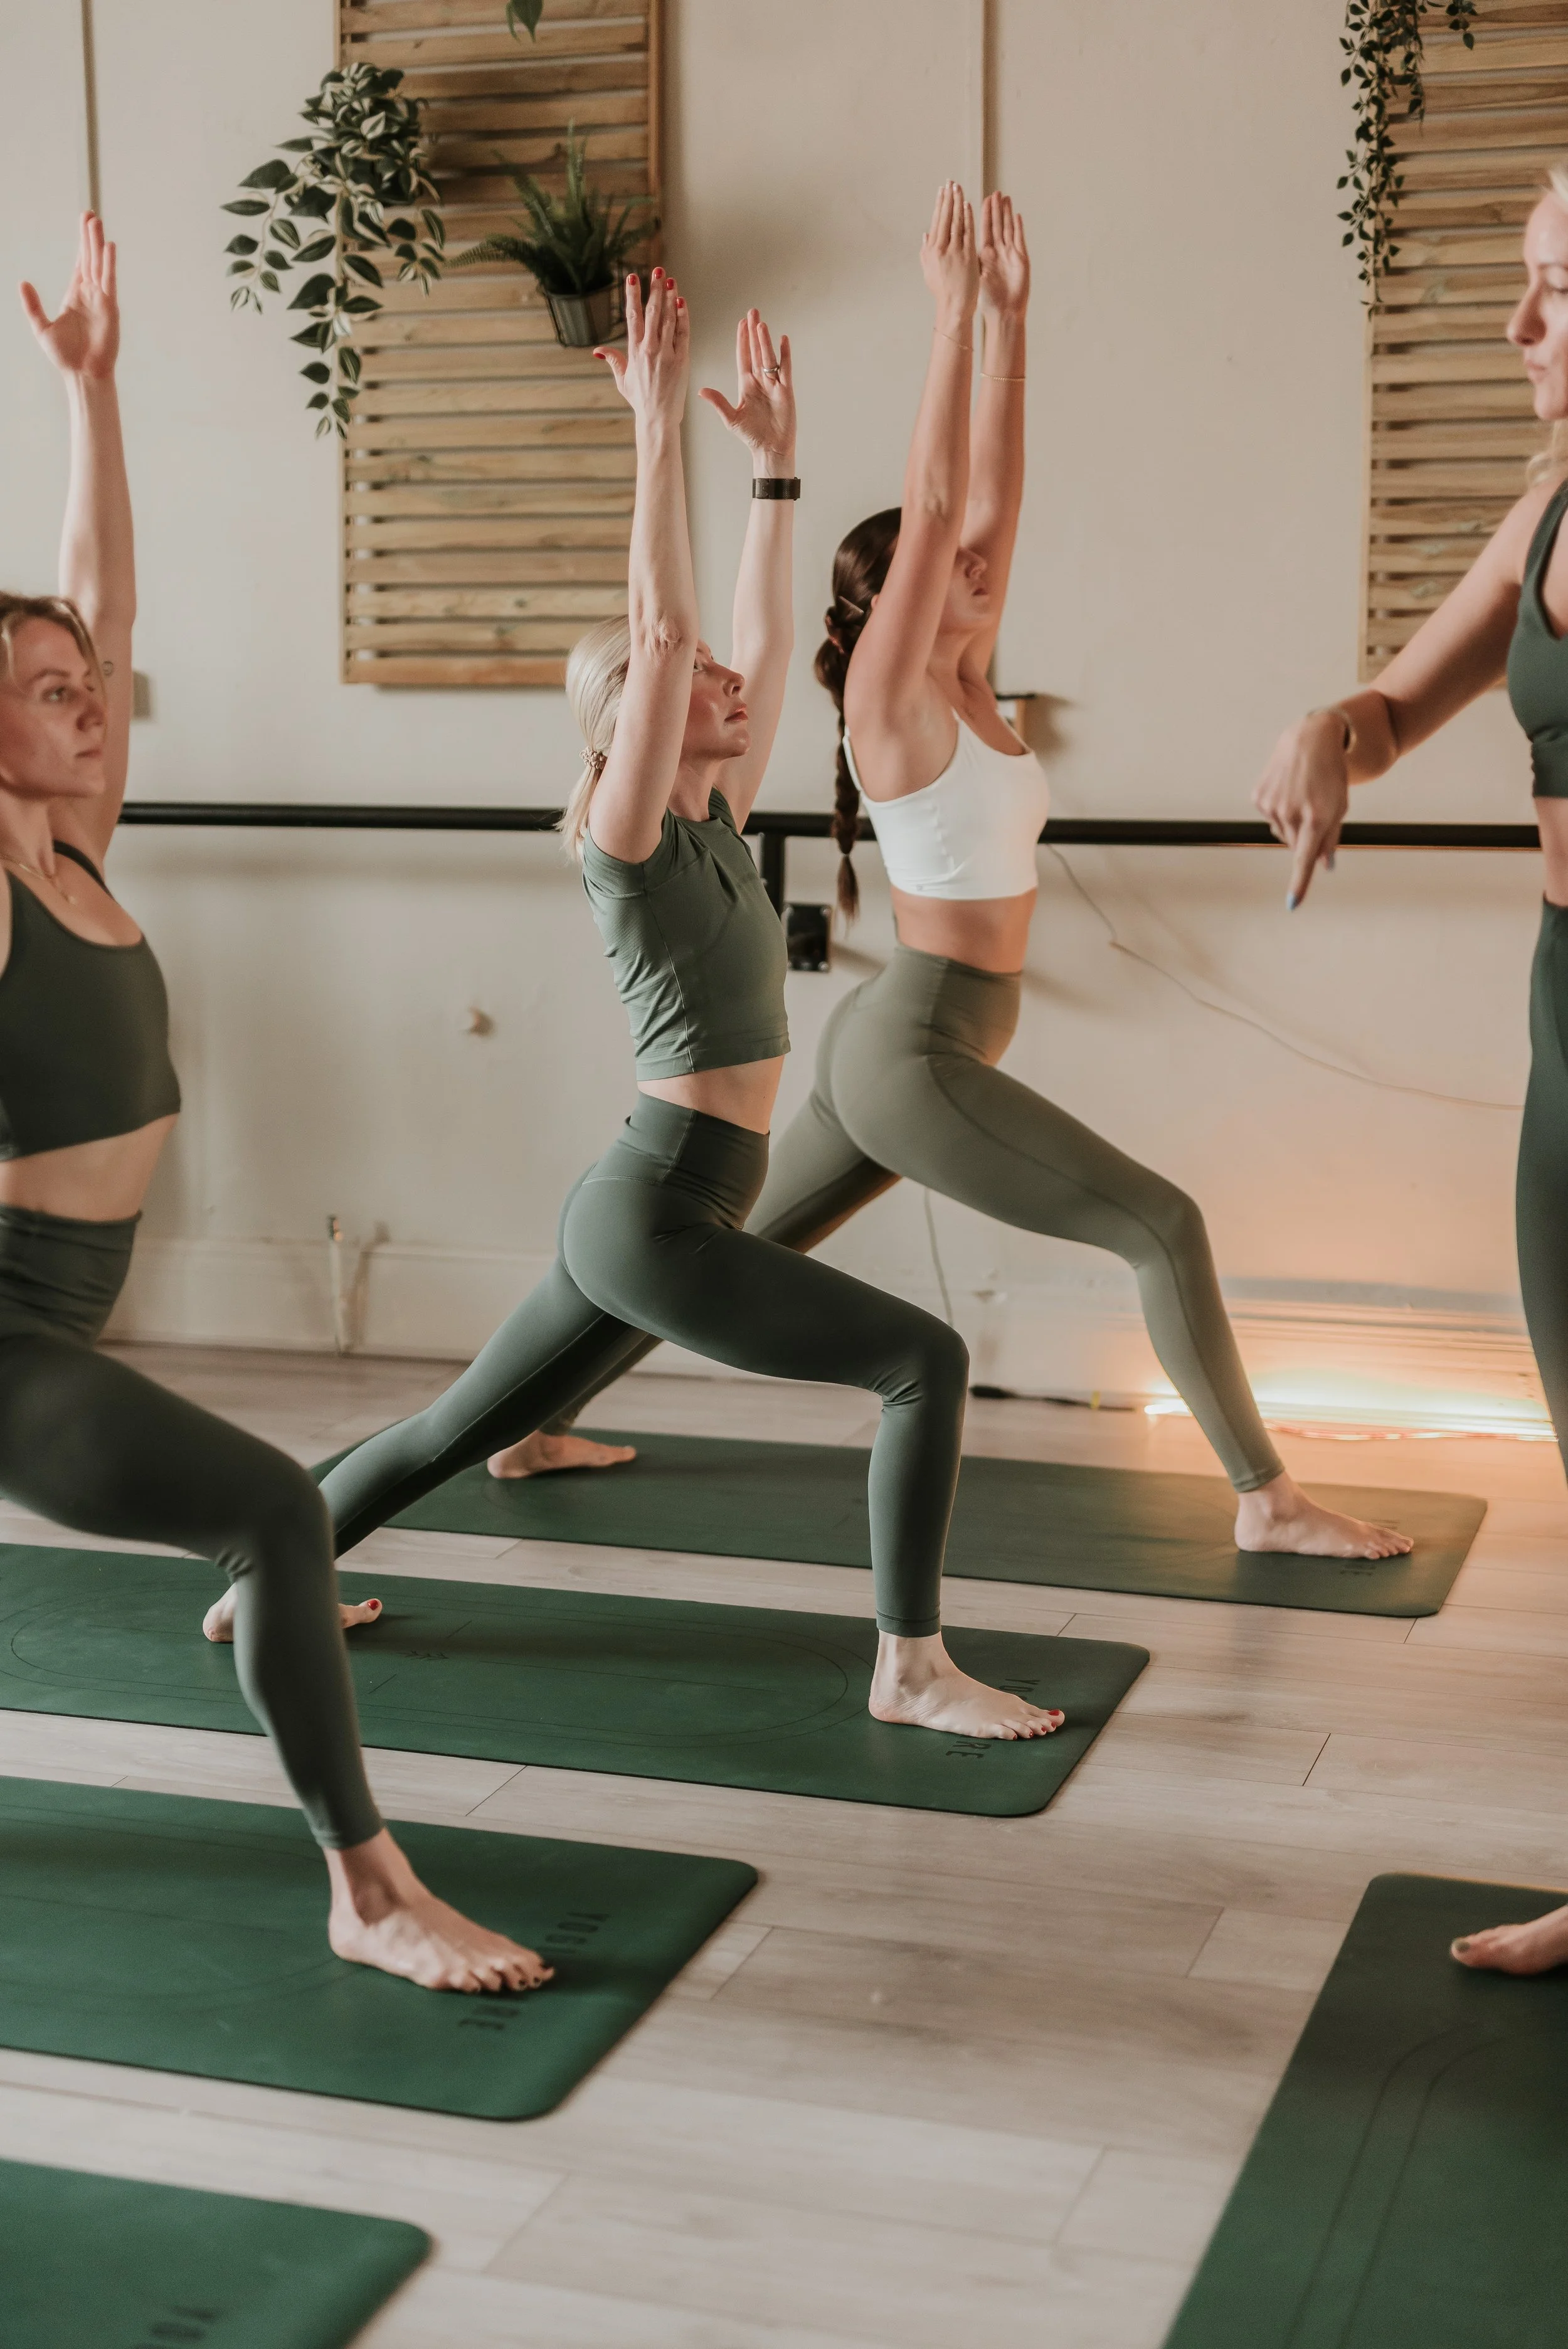
Ember40.jpg View fullsize
Ember16 (1).jpg View fullsize
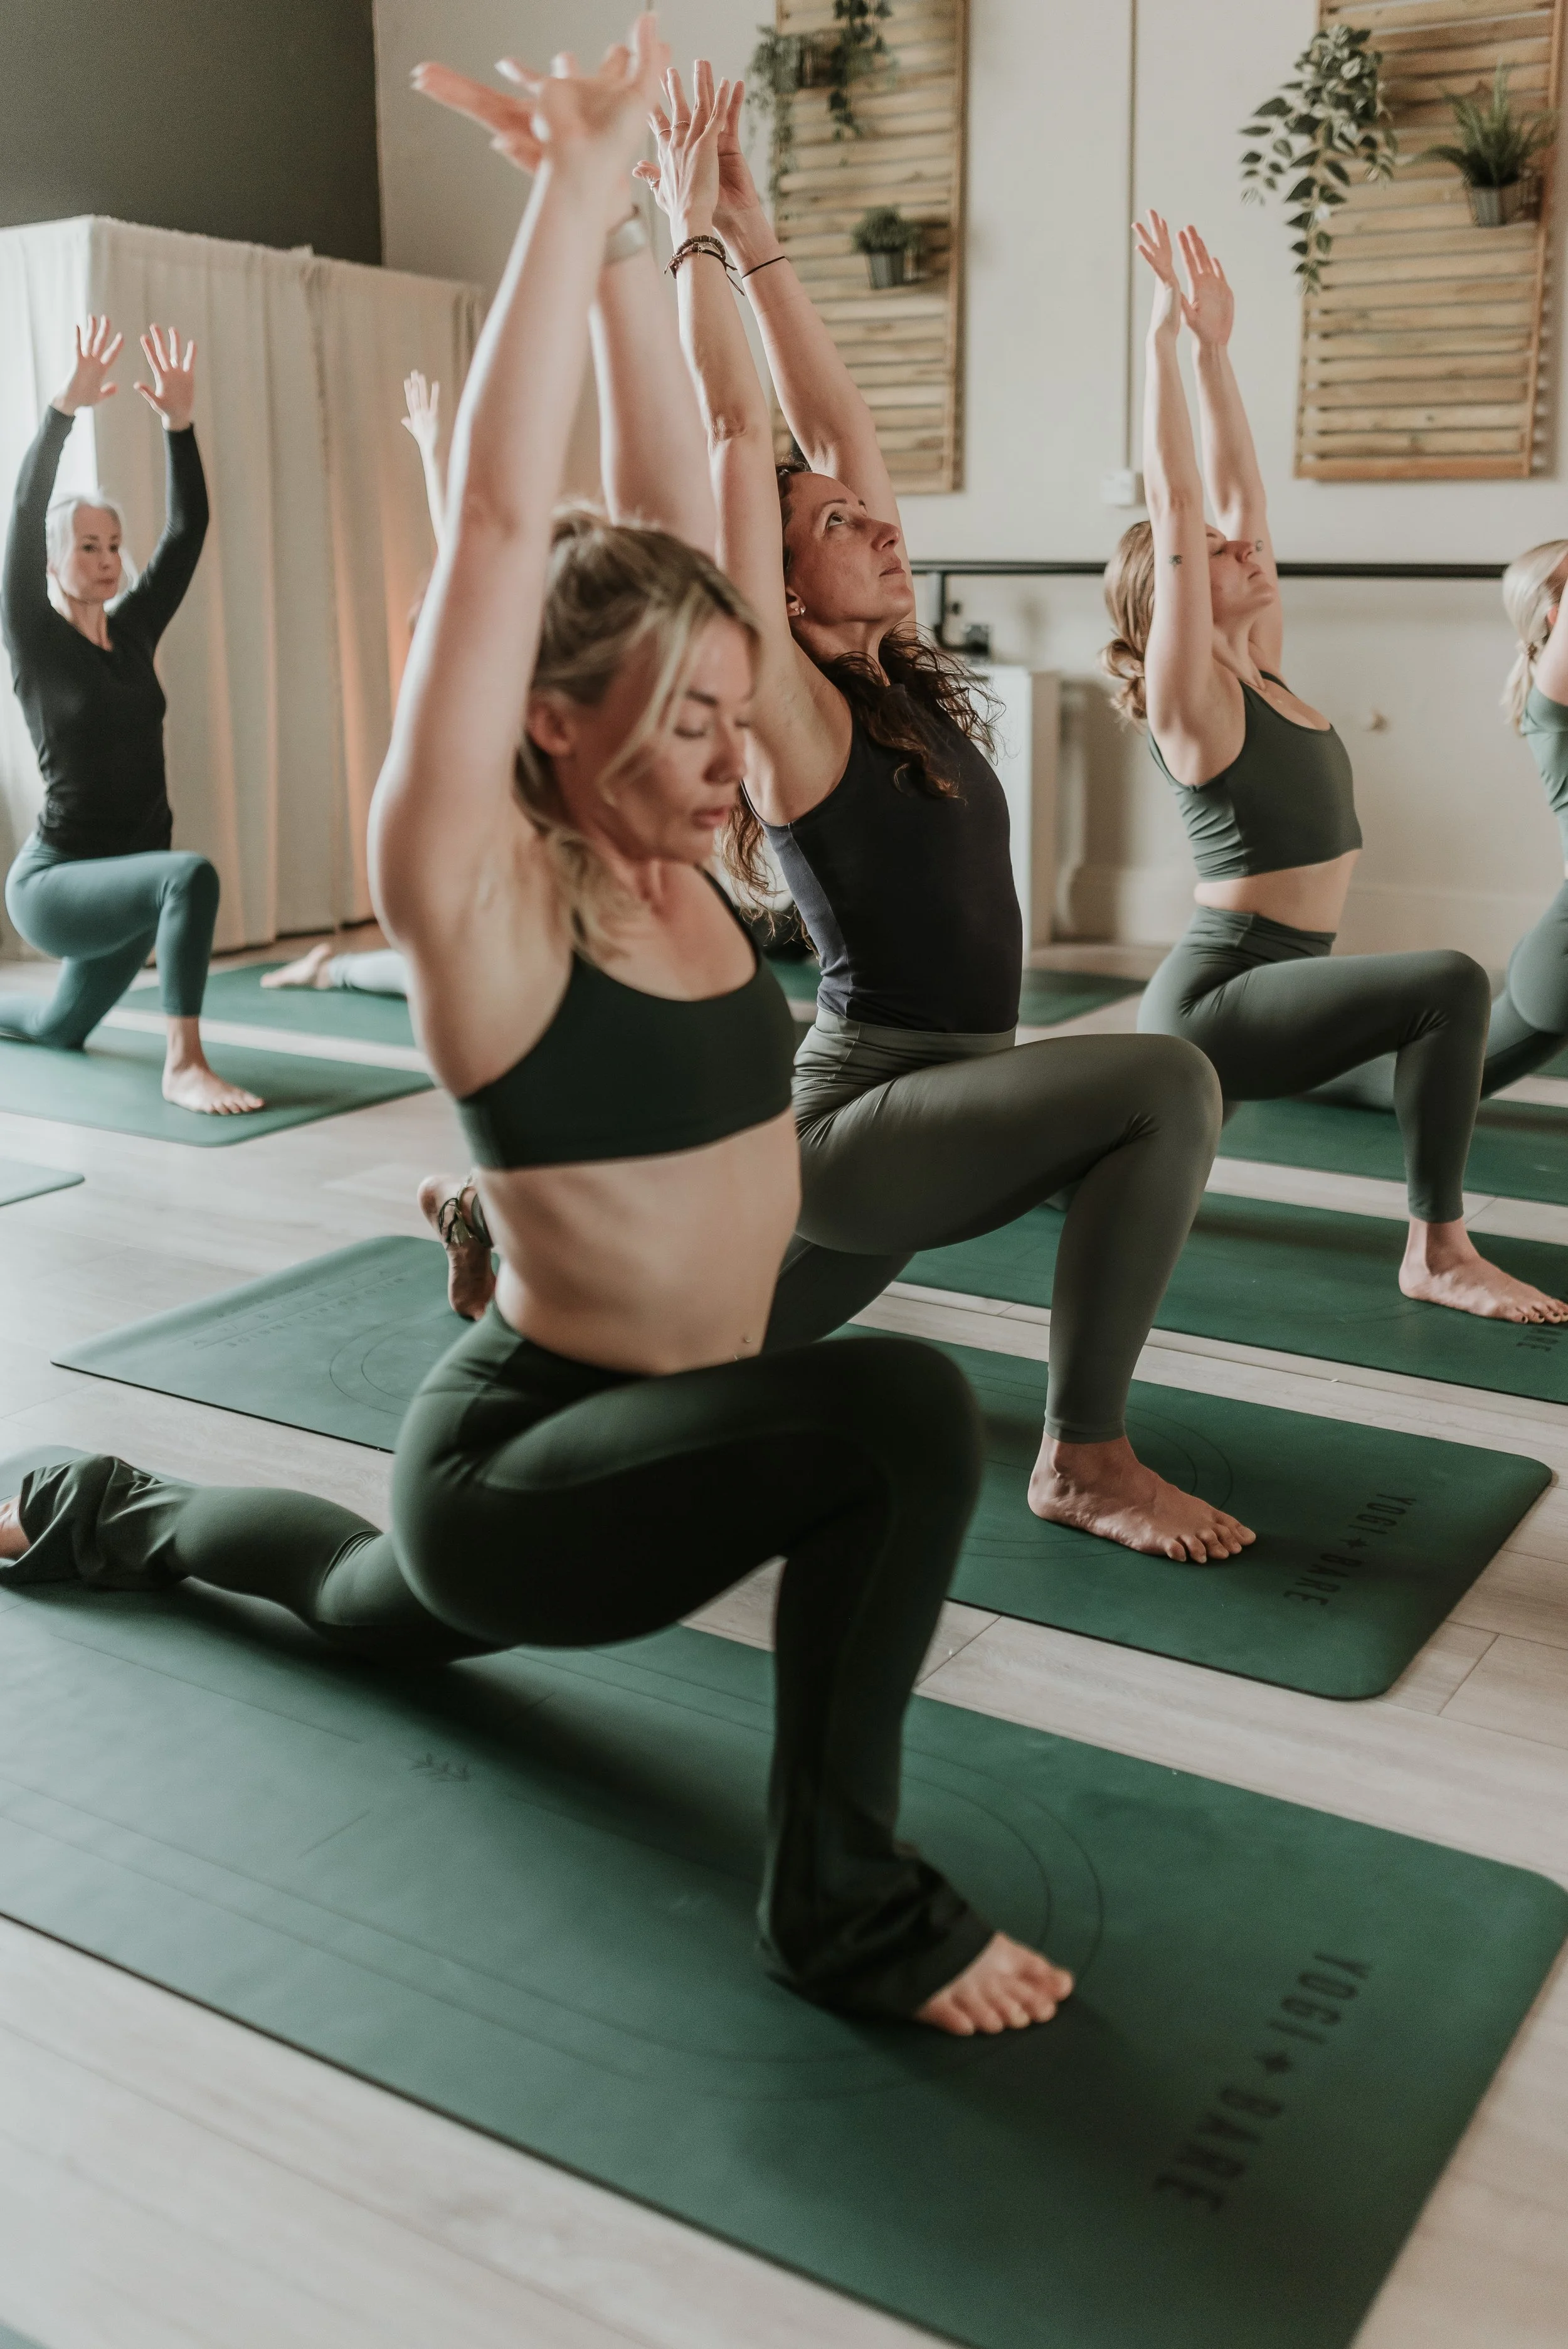
Ember60.jpg View fullsize
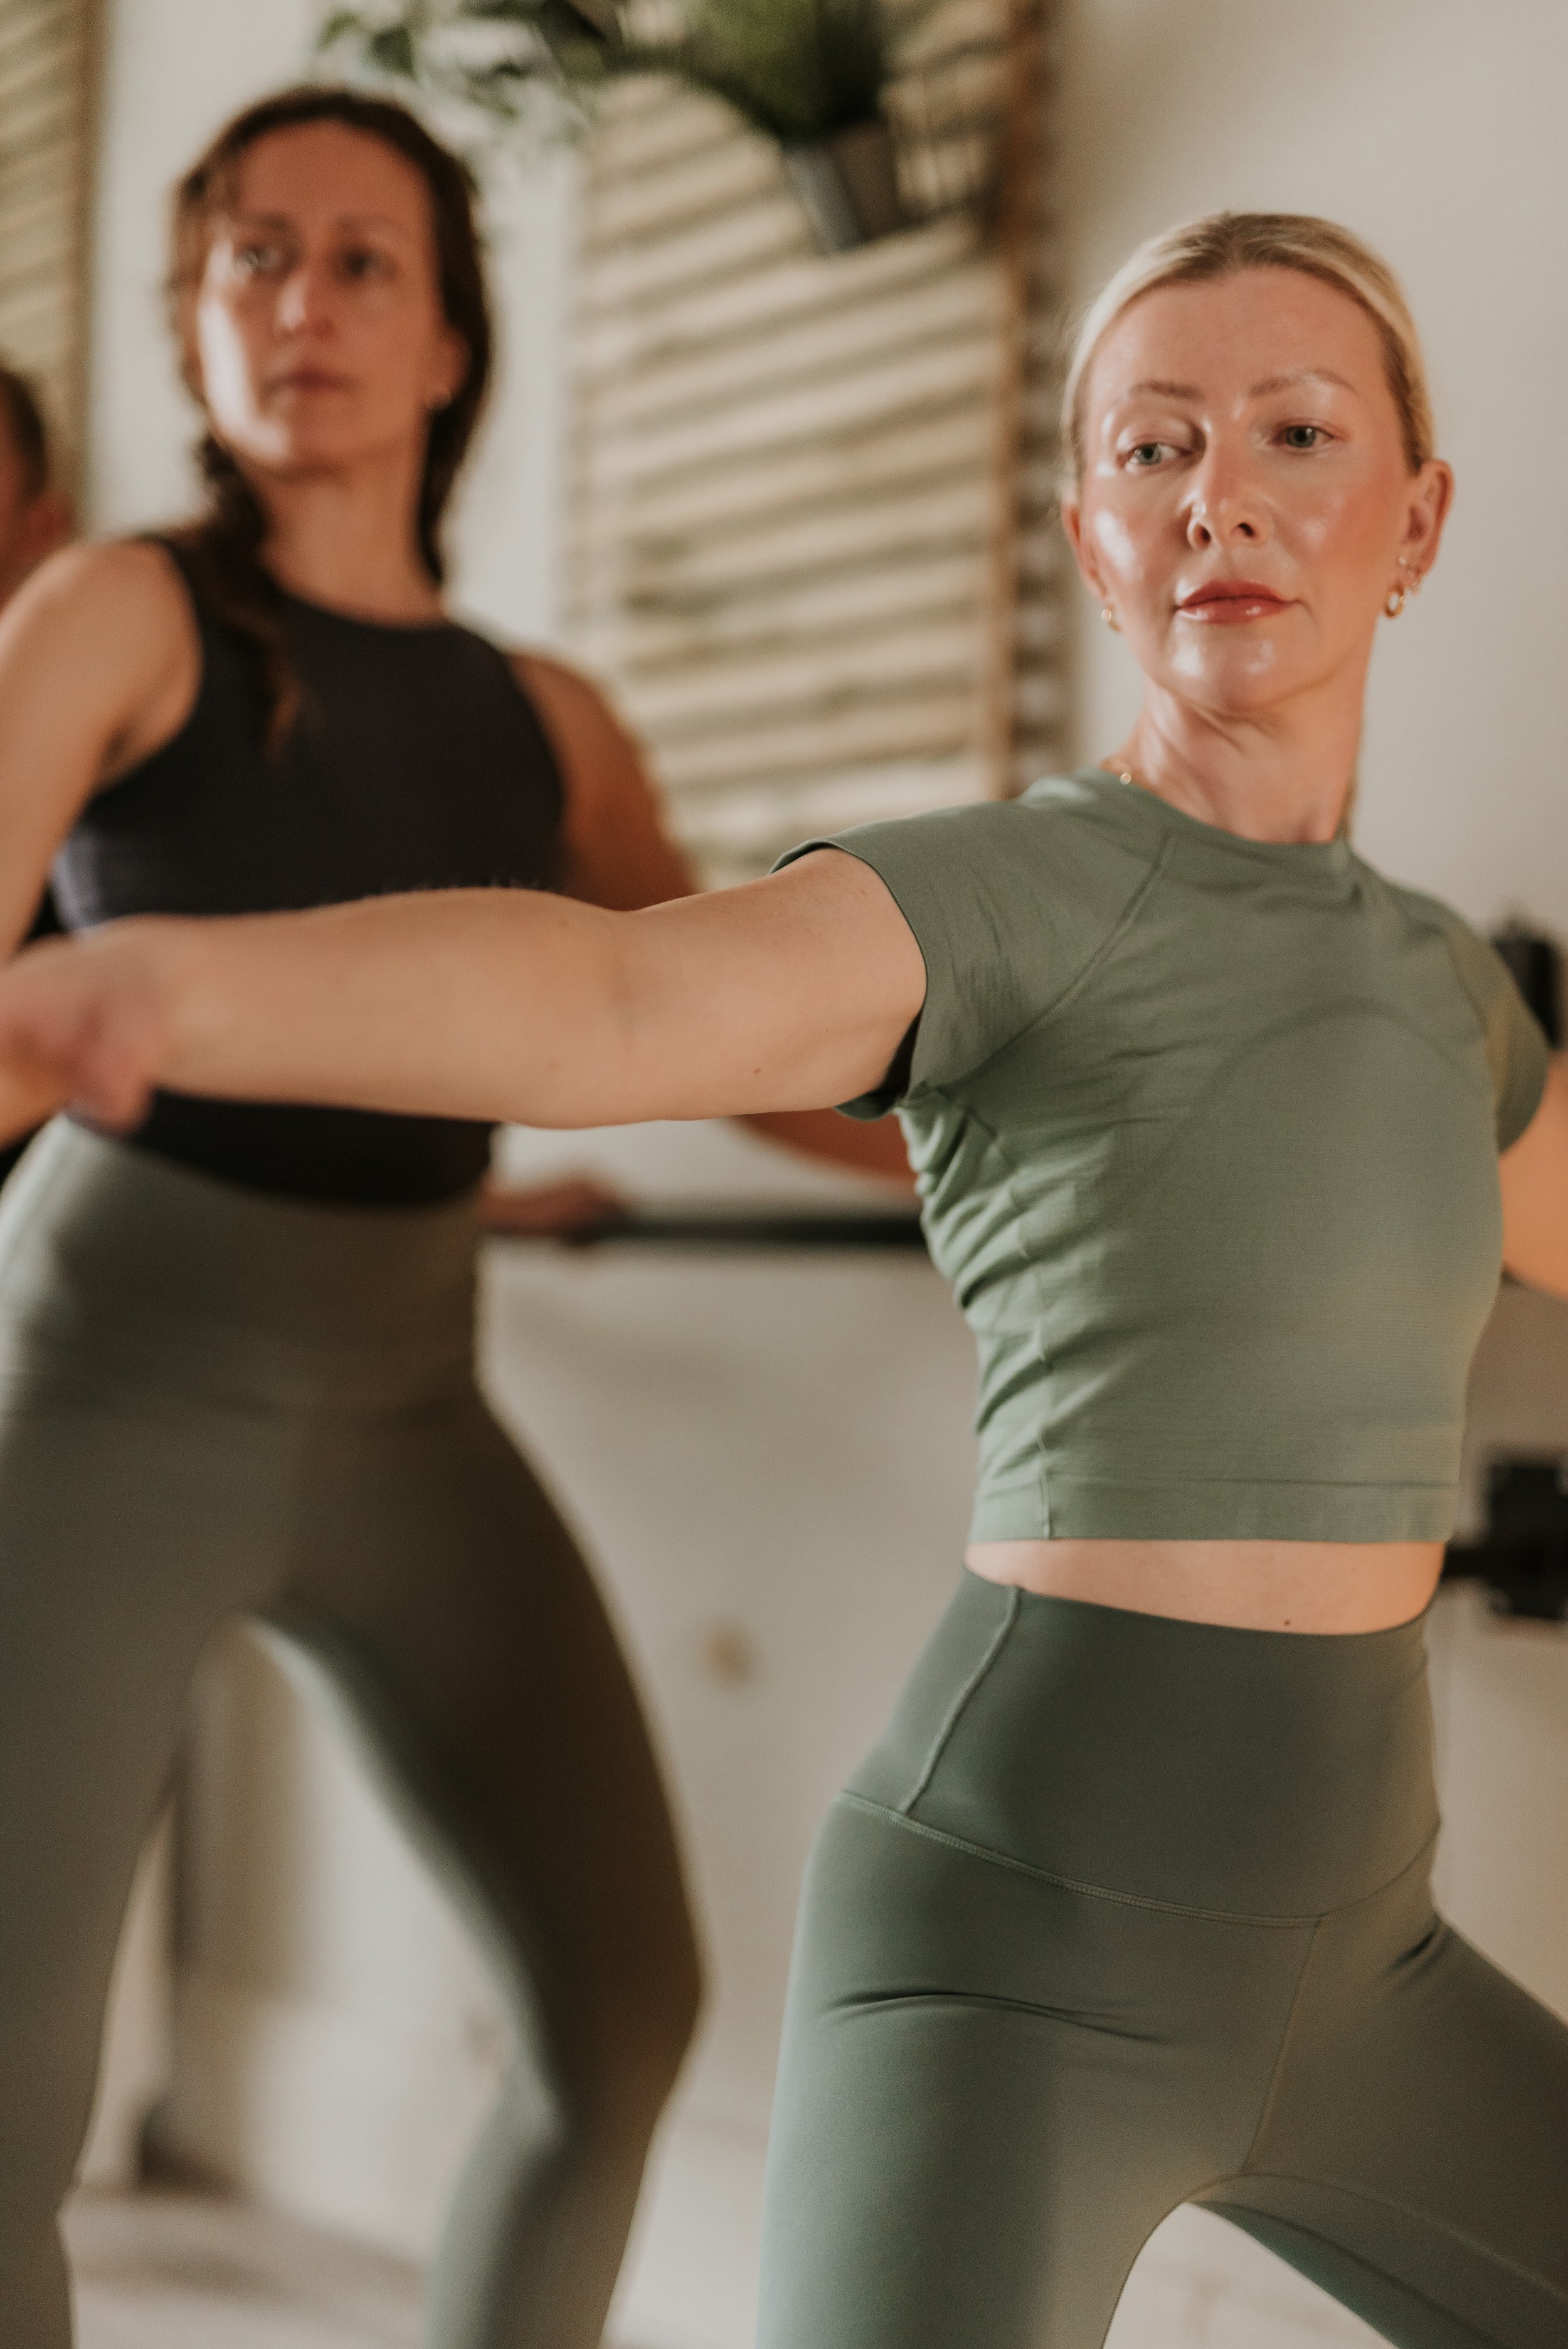
DSC_6780.jpg View fullsize
DSC_6769.jpg View fullsize
DSC_6747.jpg View fullsize
DSC_6732.jpg View fullsize
DSC_6707.jpg View fullsize
DSC_6691.jpg View fullsize
FP9.jpg View fullsize
FP4.jpg View fullsize
FP5.jpg View fullsize
FP6.jpg View fullsize
FP11.jpg View fullsize
FP8.jpg View fullsize
FP7.jpg View fullsize
FP2.jpg View fullsize
champagne101.jpg View fullsize
WH223.jpg View fullsize
WH218.jpg View fullsize
WH79.jpg View fullsize
WH97.jpg View fullsize
My Body Studios350.jpg View fullsize
My Body Studios198.jpg View fullsize
My Body Studios228.jpg View fullsize
My Body Studios217.jpg View fullsize
My Body Studios371.jpg View fullsize
My Body Studios299.jpg View fullsize
My Body Studios239.jpg View fullsize
My Body Studios3.jpg View fullsize
SB4.jpg View fullsize
SB15.jpg View fullsize
SB32.jpg View fullsize
DSC_1335.jpg View fullsize
DSC_1316.jpg View fullsize
DSC_1458.jpg View fullsize
DSC_1496.jpg View fullsize
DSC_8578.jpg View fullsize
DSC_8613.jpg View fullsize
DSC_3943.jpg View fullsize
Ember145.jpg
Ember120 (1).jpg
Ember89.jpg
Ember88.jpg
Ember75.jpg
Ember64.jpg
Ember57.jpg
Ember49.jpg
Ember52.jpg
Ember47.jpg
Ember44.jpg
Ember40.jpg
Ember16 (1).jpg
Ember60.jpg
DSC_6780.jpg
DSC_6769.jpg
DSC_6747.jpg
DSC_6732.jpg
DSC_6707.jpg
DSC_6691.jpg
FP9.jpg
FP4.jpg
FP5.jpg
FP6.jpg
FP11.jpg
FP8.jpg
FP7.jpg
FP2.jpg
champagne101.jpg
WH223.jpg
WH218.jpg
WH79.jpg
WH97.jpg
My Body Studios350.jpg
My Body Studios198.jpg
My Body Studios228.jpg
My Body Studios217.jpg
My Body Studios371.jpg
My Body Studios299.jpg
My Body Studios239.jpg
My Body Studios3.jpg
SB4.jpg
SB15.jpg
SB32.jpg
DSC_1335.jpg
DSC_1316.jpg
DSC_1458.jpg
DSC_1496.jpg
DSC_8578.jpg
DSC_8613.jpg
DSC_3943.jpg

email: laurabeasleyphotography@gmail.com
phone: 07880343246